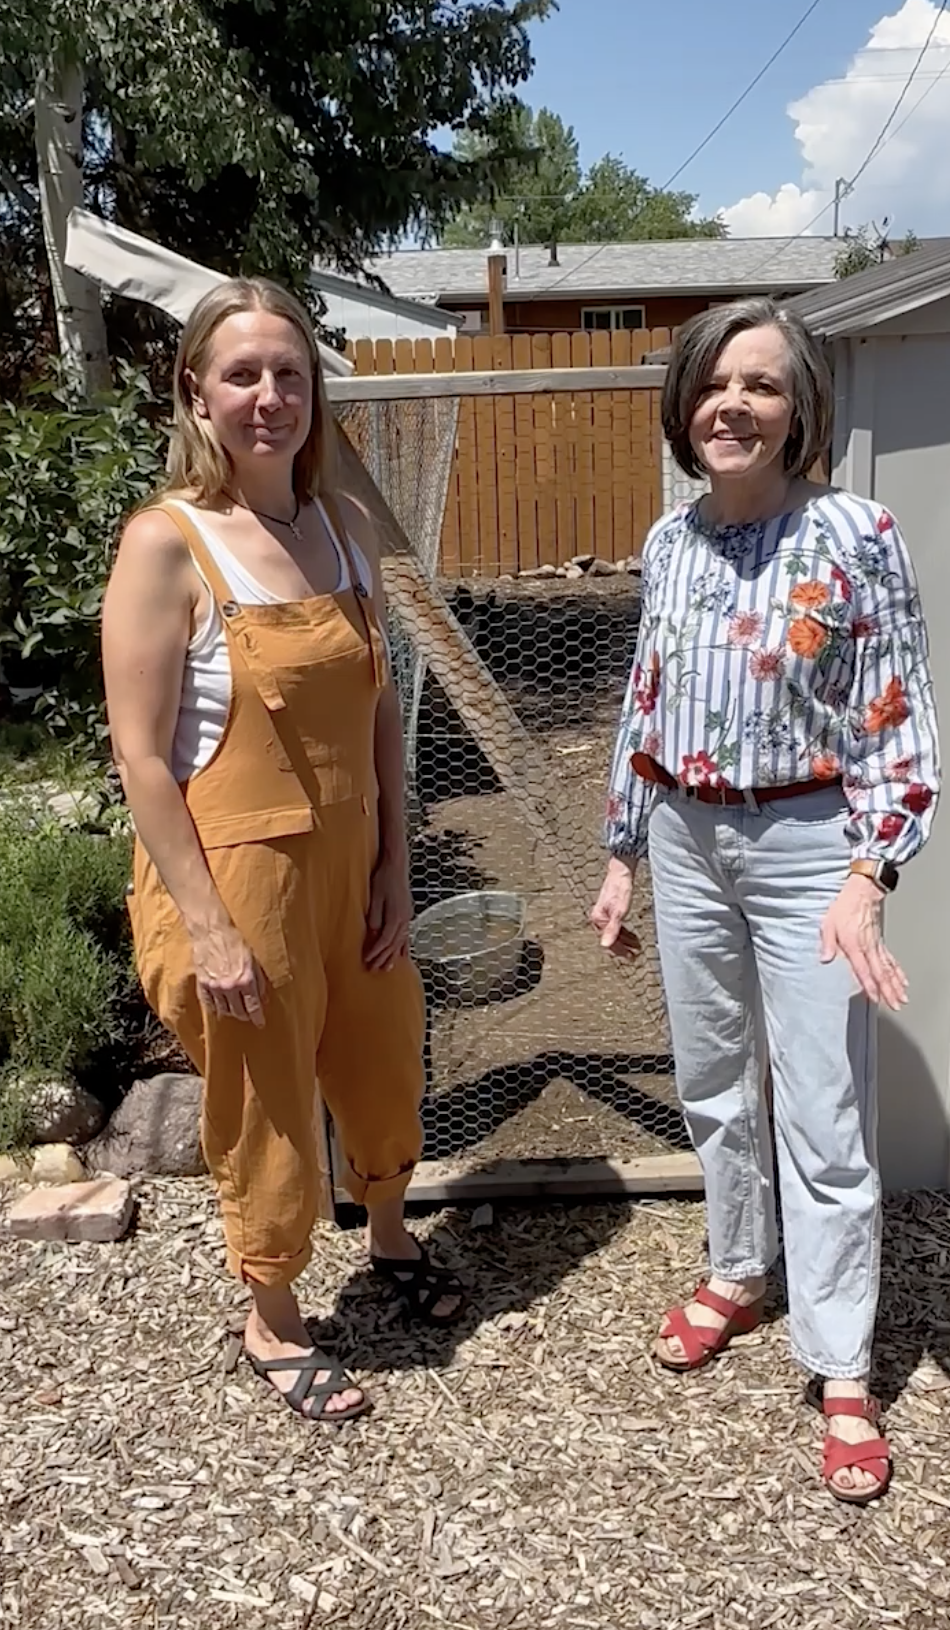
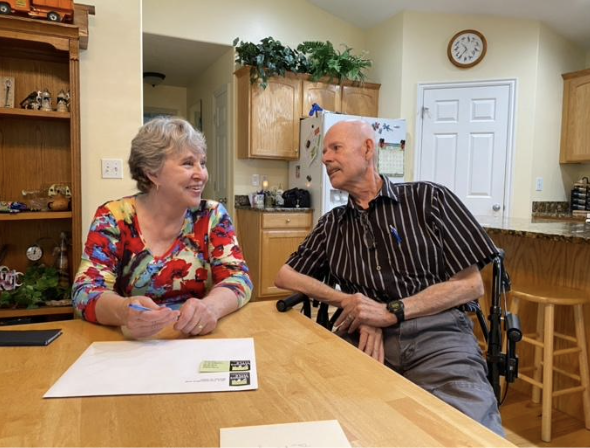
Let’s talk chickens 🐔 I had the pleasure to visit with Nadia Booker about her flock, and get her tips for raising happy, healthy chickens.
The Bookers purchased their home 2.5 years ago. Fortunately, they were a client with vision! Since that time they have transformed their back yard- including adding a chicken coup and a spacious run. They made the coup from a metal shed by adding ventilation, a pop hole door, and beds for laying. Their chickens usually lay one egg a day in the spring and fall seasons which Nadia says is plenty for their family.
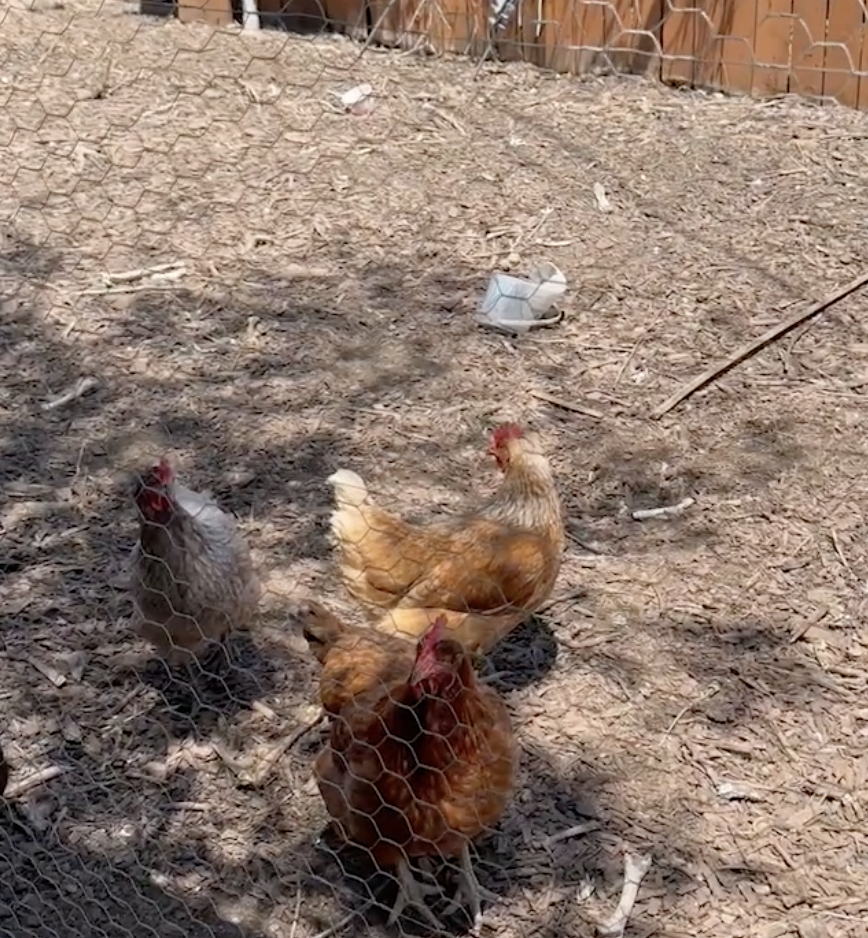
Nadia also tells us that what you feed your chickens greatly impacts the quality of their eggs. Their chickens are fed organic feed, dried worms, oats, and table scraps. This gives their eggs hard shells and are rich with nutrients.
Bonus Tip: Introducing new members to the flock can be tricky because if the flock suspects an outsider they will fight. To ease the tension, wait until your baby chicks have grown so they are the same size as the rest, and then place them in the coup at night when the brood is asleep. Nadia has found this technique most effective to keep the peace in the coup.
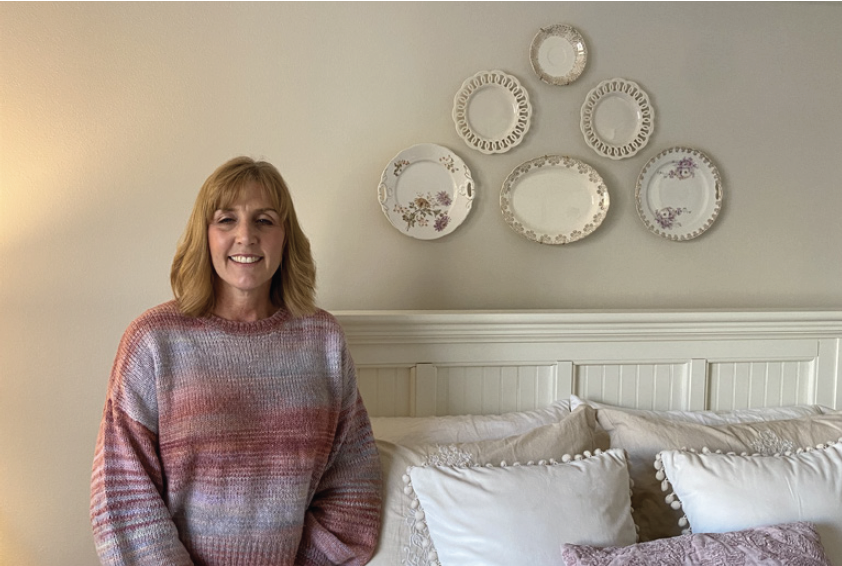
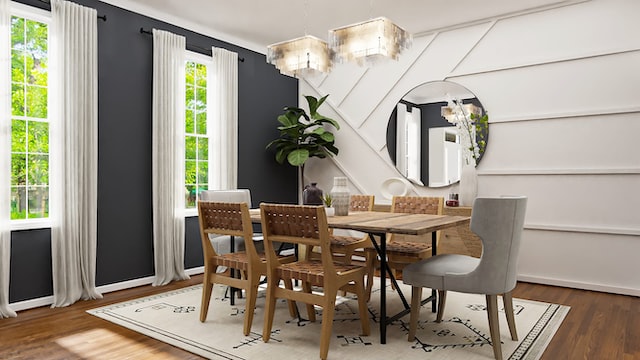
We are back with color expert, Lisa Schuring, to talk about how to use items such as plates, cake stands, and rugs in decorating your home in new and interesting ways. Dive into a world of endless possibilities and unleash your creativity, as we explore how incorporating these items as decor can transform your home into the sanctuary of your dreams.
Lisa shows us an ingenious way to use thrifted plates as vibrant accents on your walls. By mixing and matching various patterns and hues, you can create a visually striking gallery that reflects your personal style. Whether you prefer bold, eclectic designs or subtle, harmonious arrangements, the possibilities are limitless.
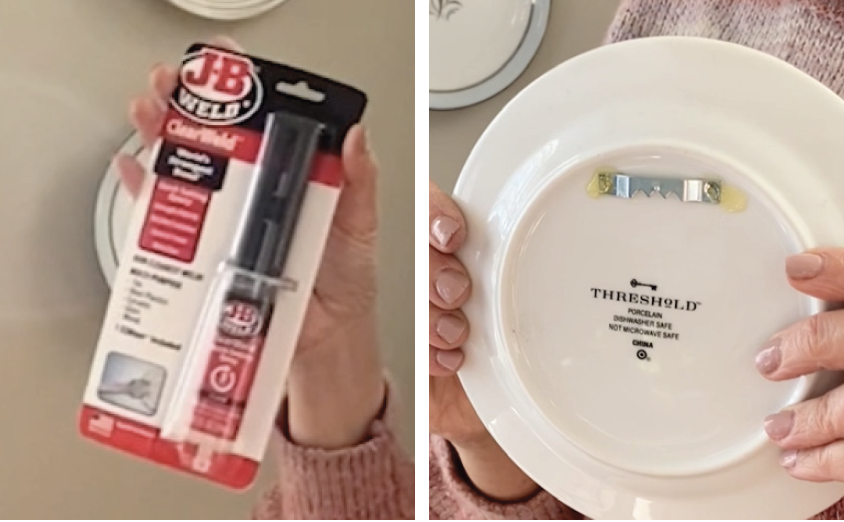
To hang plates on the wall, Lisa suggests using a sawtooth hanger attached with epoxy to the back of the plate. This simple and inexpensive technique allows you to securely display your favorite plates.
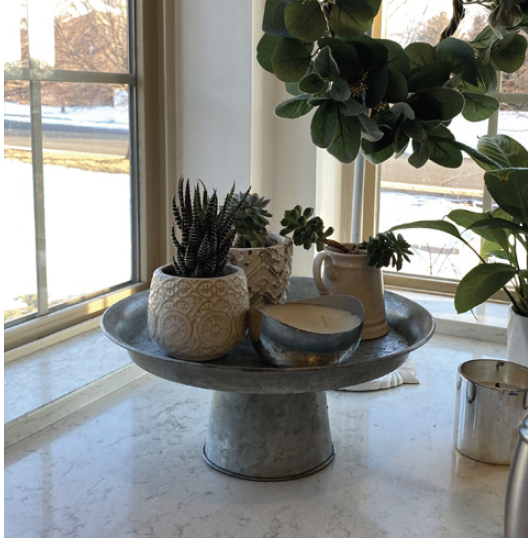
Cake stands, with their intricate designs and playful colors, can take center stage on your dining table, kitchen counter, and entry table. Adorn them with seasonal decor, greenery, or delectable treats, instantly adding a delightful focal point to your gatherings.
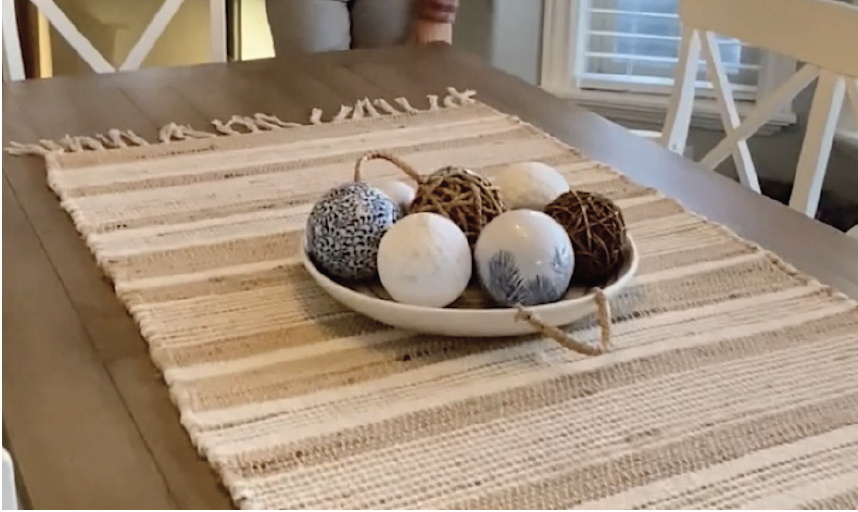
Rugs also offer a myriad of decorating possibilities. Use them as wall hangings, bedspreads, or even a table runner as shown below to add warmth and texture.
One of the perks of using these items as decor is their affordability. Lisa shares that she collects plates found at thrift stores and yard sales for under a dollar. These cake stands and rugs can be found at Ross and HomeGood for a great deal. This budget-friendly approach allows you to experiment and curate a truly eclectic collection without breaking the bank.
Finding new ways to use common household items as decor offers a wealth of creative opportunities. Embrace your creativity, and let your home become a reflection of your unique style and personality.
Should you get a meth test with your home inspection?
I’m going to highly recommend it and here’s why. As a Realtor, I am required to take continuing education classes to keep my license up-to-date, and a couple months ago I took a class covering meth use in Utah.
Did you know?
Utah is the seventh highest using state of methamphetamines.
The largest demographic of users are women with children.
It’s estimated that 1 in 10 Utah homes have had a meth user in the home.
Meth is a tricky drug to detect because it is odorless and colorless, but its effects are long lasting. Homes contaminated with meth are often not the ones you’d expect. According to Anne Atkin of Meth Mob who taught my class, the homes they see the most for meth contamination are homes of the elderly. The second highest are rental properties.
Some symptoms of being exposed to a meth contaminated house include nose and throat irritation, headaches, dizziness, confusion, nausea, and breathing difficulties. These can be exacerbated in babies and immunocompromised individuals.
I recommend using a professional to test for meth contaminates to achieve accurate results. If meth levels are found in a home, companies like Meth Mob have methods for decontamination that are highly effective. The average cost is $5,000.
Please reach out if you have any questions. I am happy to help you in your home buying process.
Thanksgiving Point in Lehi, Utah is full of activities for the kids this summer, and they offer many annual membership options for families and grandparents. With these passes you can visit all five of their venues including Ashton Gardens which is home to Dinosaur Island, Museum of Natural Curiosities, The Butterfly Biosphere, Farm Country, and The Museum of Ancient Life.
Each grandparent membership benefits two grandparents and all their accompanying grandchildren. The Bonus Grandparent Pass allows for two additional guests and the Premier Grandparent Pass allows for four additional guests. The basic pass costs $329/year, the Bonus Pass is $429/year, and the Premier Pass is $799/year.
Check it out, bring the grandkids, and enjoy this beautiful Utah summer!
Moving to a new home can be both exciting and daunting, particularly for seniors who may be facing unique challenges during the relocation process. Whether you’re downsizing, moving closer to family, or seeking a senior-friendly community, this comprehensive relocation guide is designed to help make your move a smooth and stress-free experience. From planning and organizing to settling into your new home, we’ve got you covered every step of the way.
1. Assessing Your Needs:
Before embarking on your relocation journey, take the time to assess your needs. Consider factors such as accessibility, healthcare facilities, proximity to family and friends, and lifestyle preferences. Identifying your requirements will help you narrow down your search and find the perfect destination for your next chapter.
2. Finding a Senior-Friendly Community:
Senior-friendly communities offer a range of amenities and services tailored to the needs of older adults. Look for neighborhoods that provide easy access to medical facilities, social activities, recreational opportunities, and transportation options. Research local senior centers, clubs, and organizations that can help you stay connected and engaged in your new community.
3. Downsizing and Decluttering:
Downsizing is often a necessary part of senior relocation. Start by decluttering your current home, sorting items into categories such as keep, donate, and sell. Take the opportunity to downsize your belongings, keeping only what is essential and meaningful to you. Consider hiring professional organizers or downsizing specialists who can assist you throughout this process.
4. Hiring Professional Movers:
Enlist the help of professional movers experienced in senior relocations. They understand the specific requirements of older adults and can provide assistance with packing, loading, and transporting your belongings safely. Research and compare moving companies to find one that offers reliable service, insurance coverage, and reasonable pricing.
5. Planning for a Smooth Transition:
Create a detailed moving timeline and checklist to stay organized. Notify utility companies, change your address with the post office, and update your subscriptions and memberships. Arrange for any necessary repairs or modifications to your new home to ensure it is safe and accessible. Consider hiring a real estate agent specializing in senior relocations to assist you in selling your current property or finding a new one.
6. Settling into Your New Home:
Once you’ve arrived at your new home, take the time to acclimate yourself to the surroundings. Unpack and arrange your belongings in a way that promotes comfort and accessibility. Familiarize yourself with the community, meet your neighbors, and explore local services and amenities. Join social clubs or organizations to connect with fellow seniors and establish a sense of belonging.
7. Seeking Support and Assistance:
Transitioning to a new environment can be emotionally and physically demanding. Don’t hesitate to seek support from friends, family, or support groups. Additionally, reach out to local senior services, which can provide valuable resources, information, and assistance during your relocation and beyond. Care.com provides a great relocation guide for seniors where they list the best moving services and how to avoid scams. View the guide here: Best Senior Moving Companies.
Relocating as a senior can be an exciting opportunity to embark on a new chapter of your life. By following this comprehensive relocation guide, you’ll be equipped with the knowledge and strategies to make your move stress-free. Remember to plan ahead, seek professional assistance when needed, and embrace the new opportunities that await you in your new home. Happy moving!
In memory of my mom who passed away a couple of years ago on Valentine’s Day, I made a Love Bug pillow using one of her iconic outfits. This quick and easy sewing project makes for the perfect handmade gift for someone you love or as a way to preserve the memory of someone you love. Learn how to sew your own love bug with the following tutorial:
Supplies:
5 fat quarters (Back, Front, Two Wings, Head)
Sharp scissors
Batting/Polyfil
Sewing Machine
Pins
Ruler
Buttons
Needle and thread
Iron
1 yard Trim (I used rick rack)
Paper and tape
Pen
Fabric glue (optional)
Instructions:
Iron your fabric to remove the creases.
Take your paper and assemble a 16” circle. This will be used as a template.
Take the fabric you want for the body and lay it face up.
For the wings, take two matching fat quarter pieces and fold them in half. Lay them face up on top of the body piece. Touch the wing corners at the top and fan out the bottom so they’re about 4” apart.
Take the fabric for the head and fold it in half.
Lay the head piece ⅓” of the way down over top of the other pieces right side up.
Take your back piece of fabric and lay it on top of the other pieces with right sides facing.
Trace a circle using your circle template and make sure to include about ½” for seam allowance.
Pin layers together and cut out the circle.
If you want legs, take your rick rack or other trim and cut out 2” strips.
Place the legs inside of the pillow with the edges lined up with the edge of the fabric. Pin in place.
Sew around the circle, leaving a 4” opening so you can stuff the bug.
Carefully clip notches all the way around so it will lay flat.
Turn the pillow right side out and make sure all the seams are smooth and the legs are poking out. Press seams if needed.
Sew or glue on the eyes.
Stuff the pillow with Polyfil or other stuffing until it’s the firmness that you like.
Use the needle and thread to slip stitch the 4” opening shut.
I hope you enjoyed creating your memory love bug. This is a great project to do with kids or grandkids, or for anyone looking for a quick project.
Here is a video tutorial showing how I made my love bug.
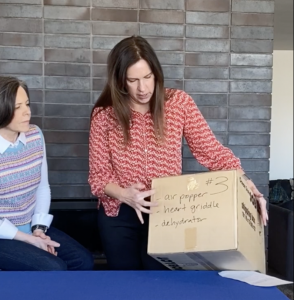
I sat down with Kelly Miller, aka Organizer Extraordinaire with HomeFree Organizing, to get her tips for packing and unpacking a home. In this exclusive interview, Miller unveils her 1 2 3 Moving System to help you feel organized and less stressed when you move.
3 2 1 Packing Tips ⬇️
#3 – First, pack the things you don’t need for 3 months (ie. seasonal decor, air popper, dehydrator, extra towels, etc.) IMPORTANT – Labeling is everything. Label the contents of the box and include the number.
#2 – Pack things that you can live without for two weeks. (ie. vases, dvds, coffee table books).
#1 – Pack the things you need right away in these boxes. It’s not as important to label the contents of these boxes. You should include the number and the room they go in. These are the boxes to unpack first.
1 2 3 Unpacking Tips ⬇️
Unpack slowly if you can. Start with #1 and work your way to #3. By starting with the #1’s you will feel settled faster and you won’t be digging through dozens of boxes for important items.
The key to feeling organized is giving your items a good home. Where will they be the most helpful? Where can you easily access them? Think about where your eye level is in relation to shelves and cabinets. Put like things together if you can. Pro Tip – Scissors and tape can go anywhere and everywhere.
If you unpack intentionally, you will feel less cluttered and you’ll be able to stay organized.
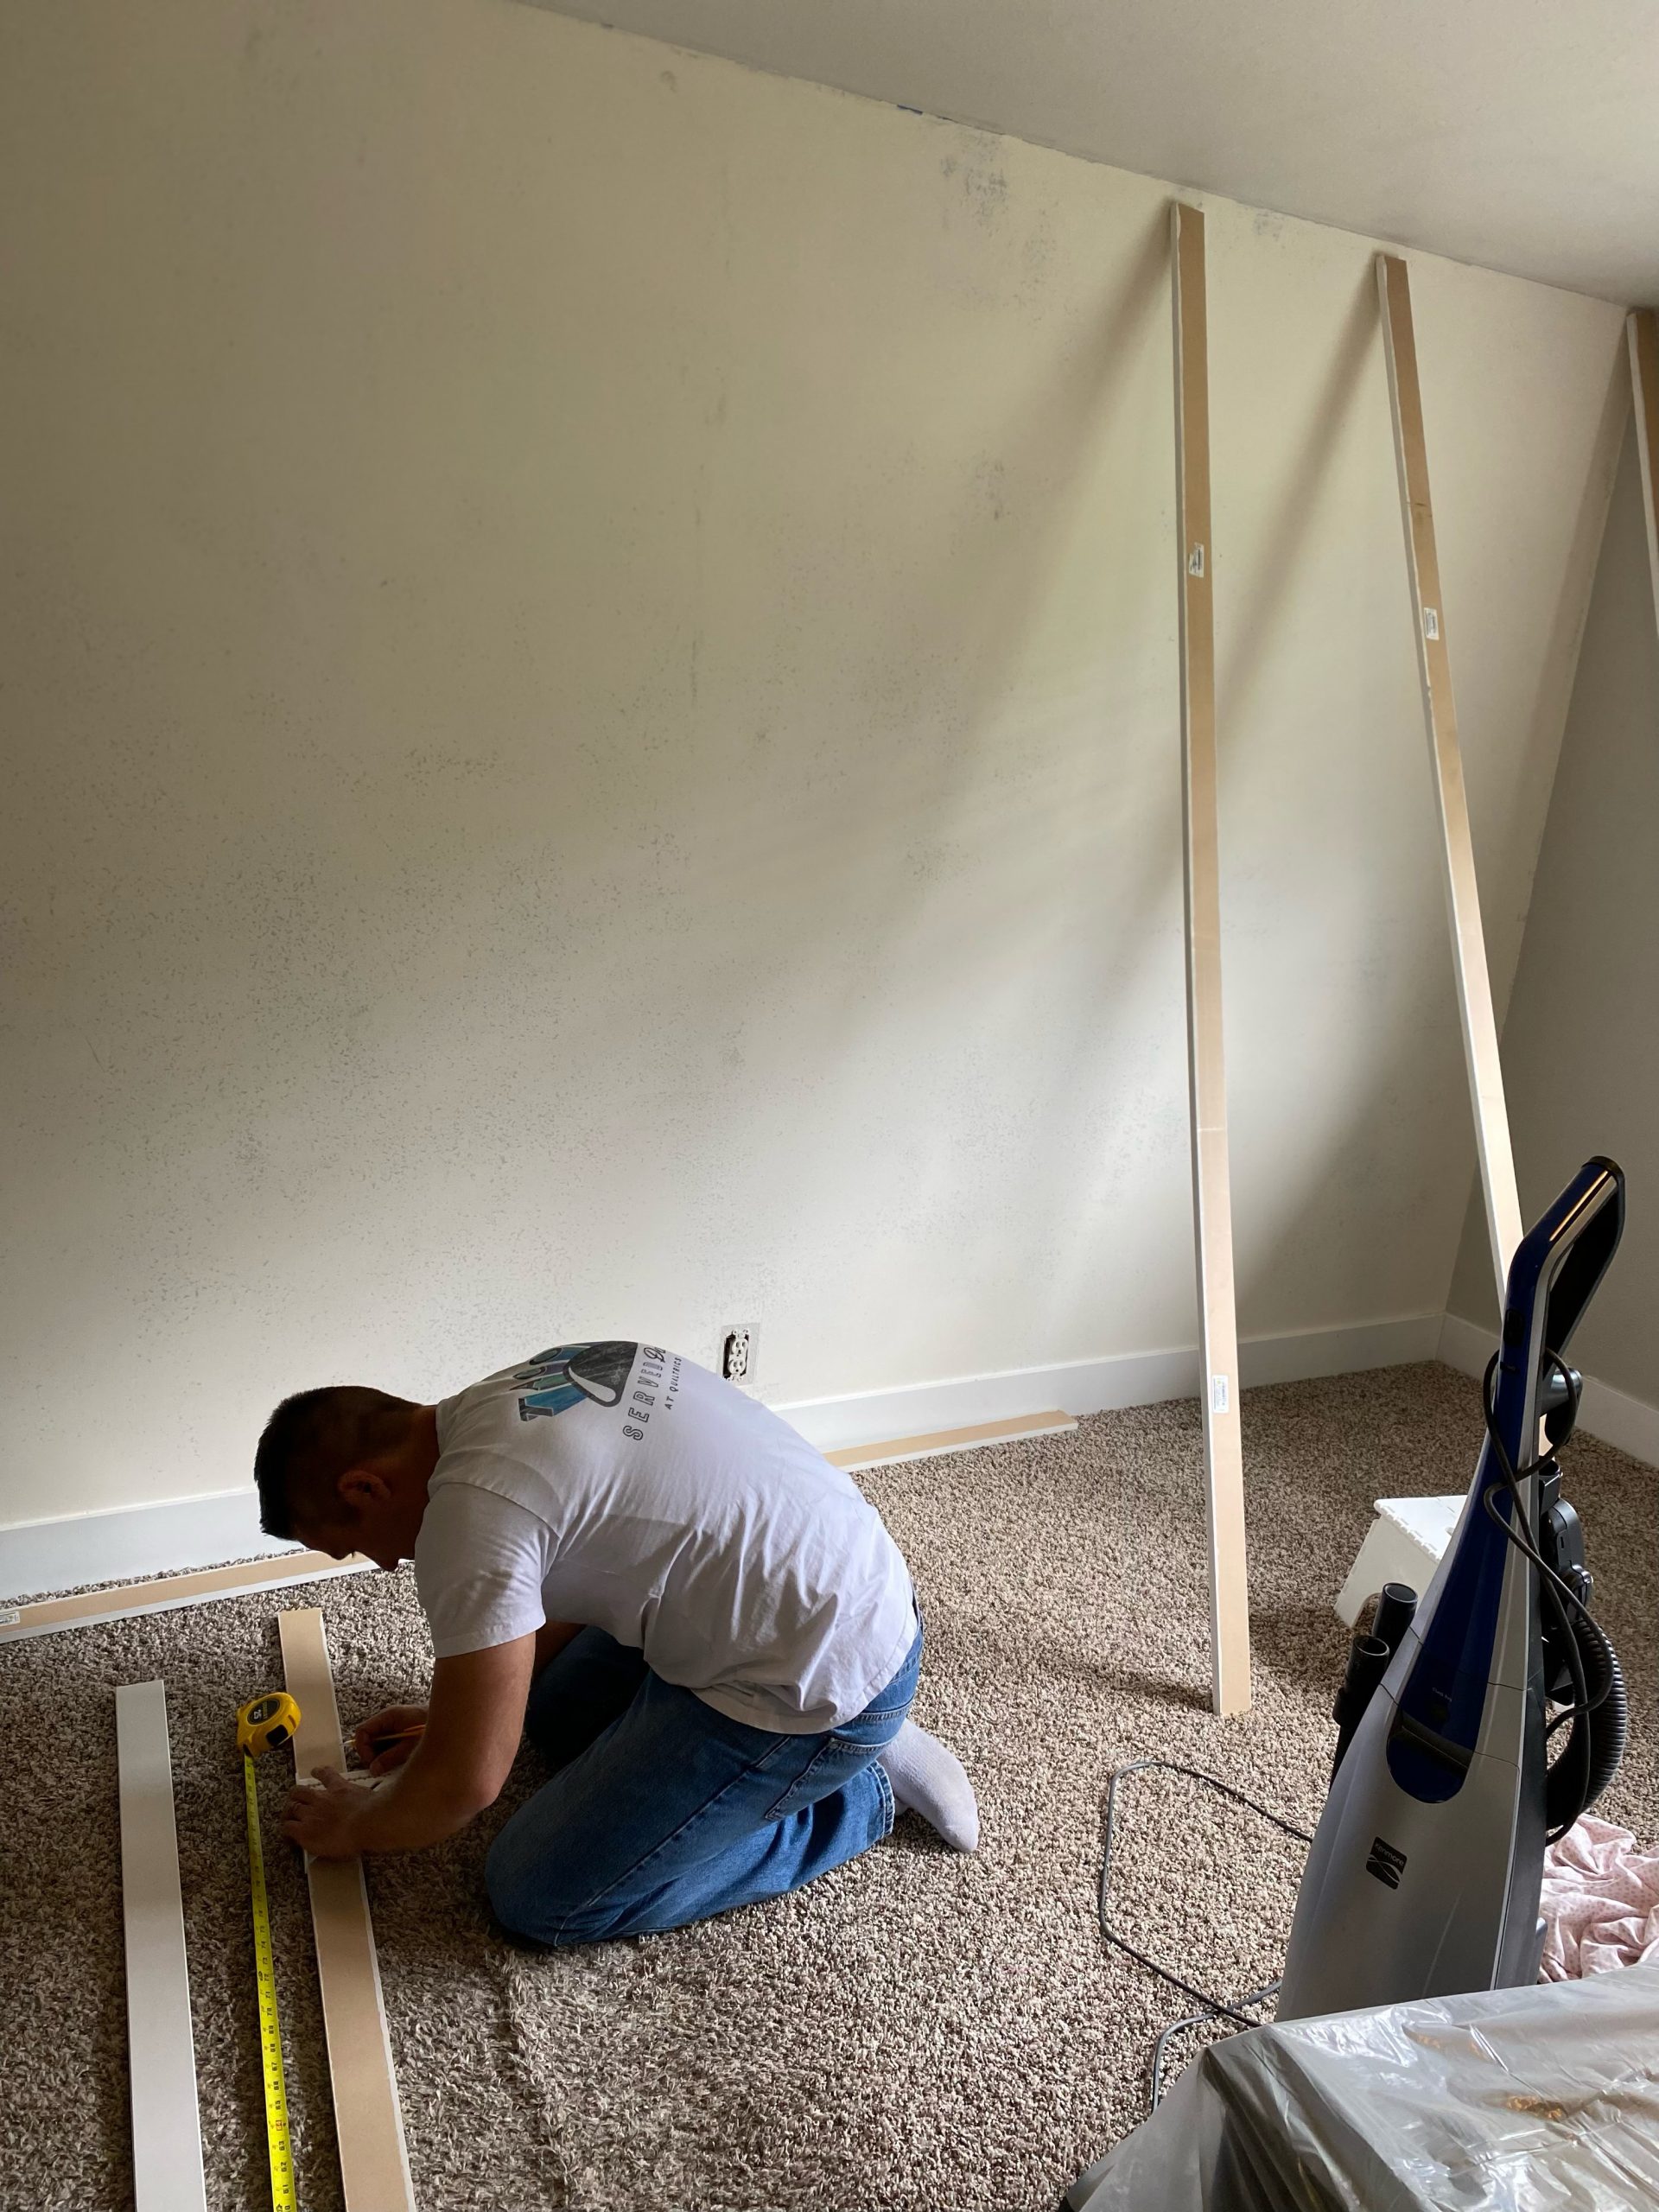
If you’re looking for a DIY home project that gives you the most bang for your buck adding an accent wall has to be at the top of the list. Whether you choose board and batten, beadboard, wallpaper, or a texture of your own design, an accent wall is a great way to add dimension to a room.
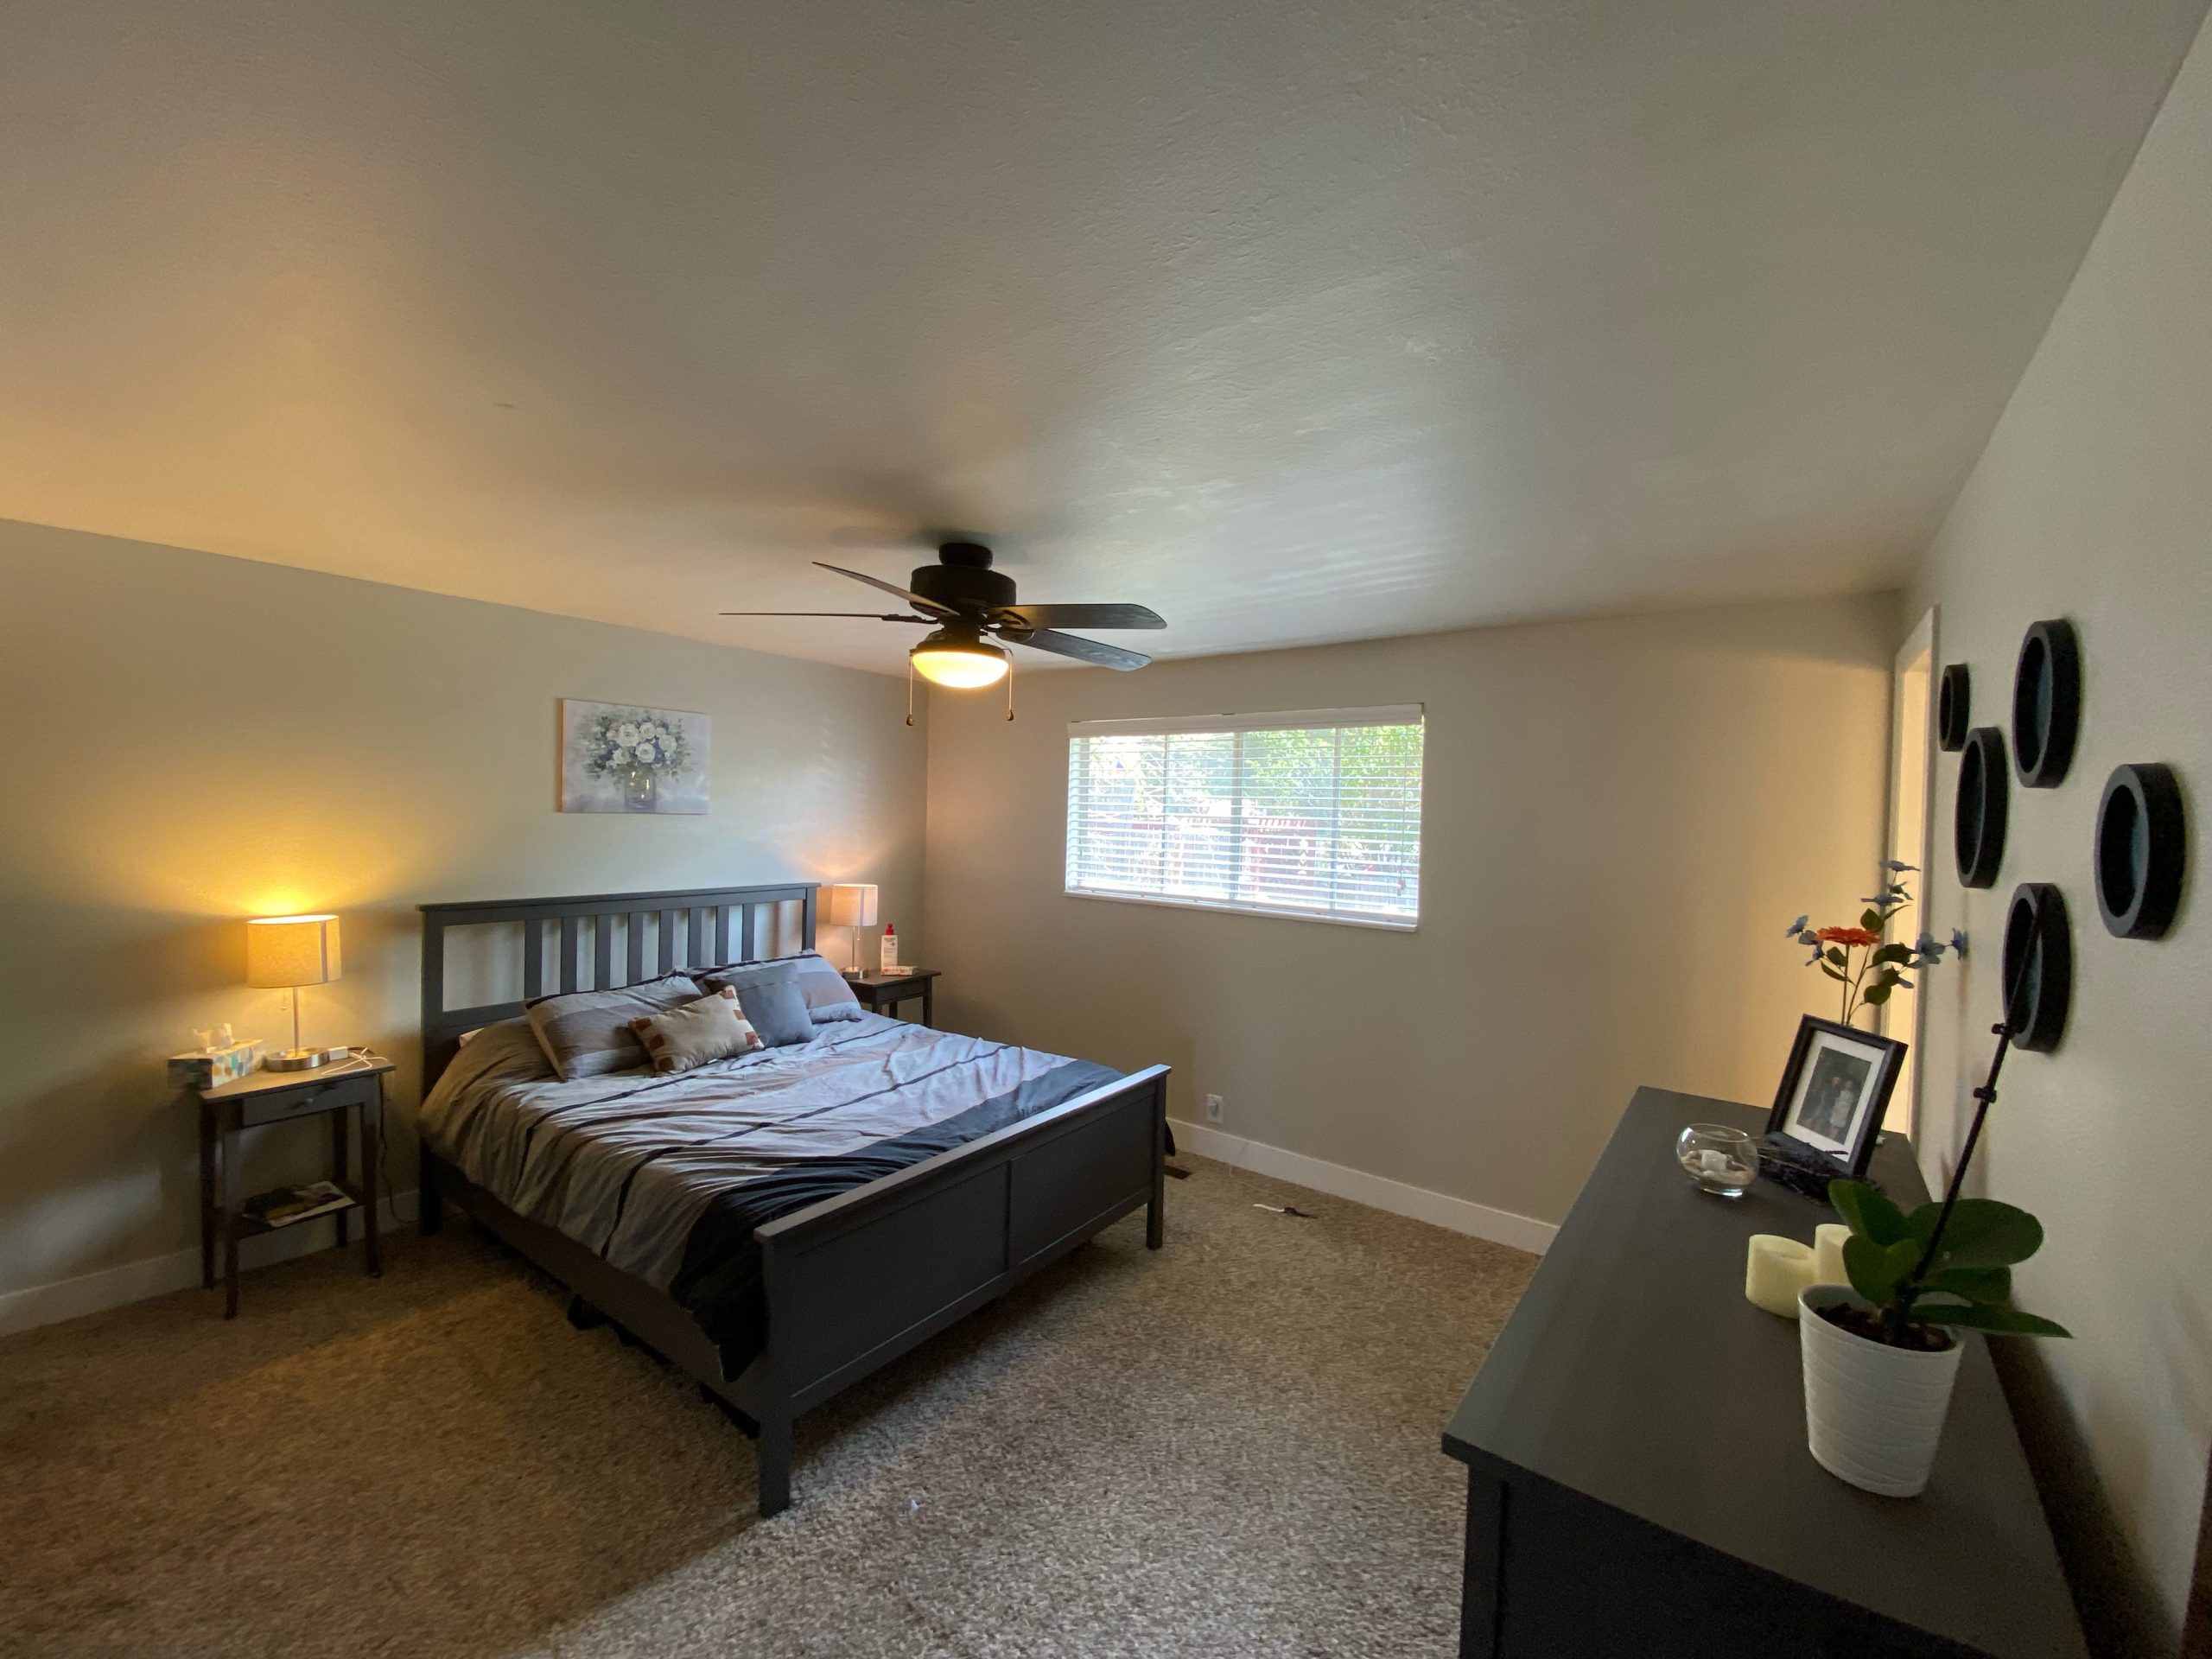
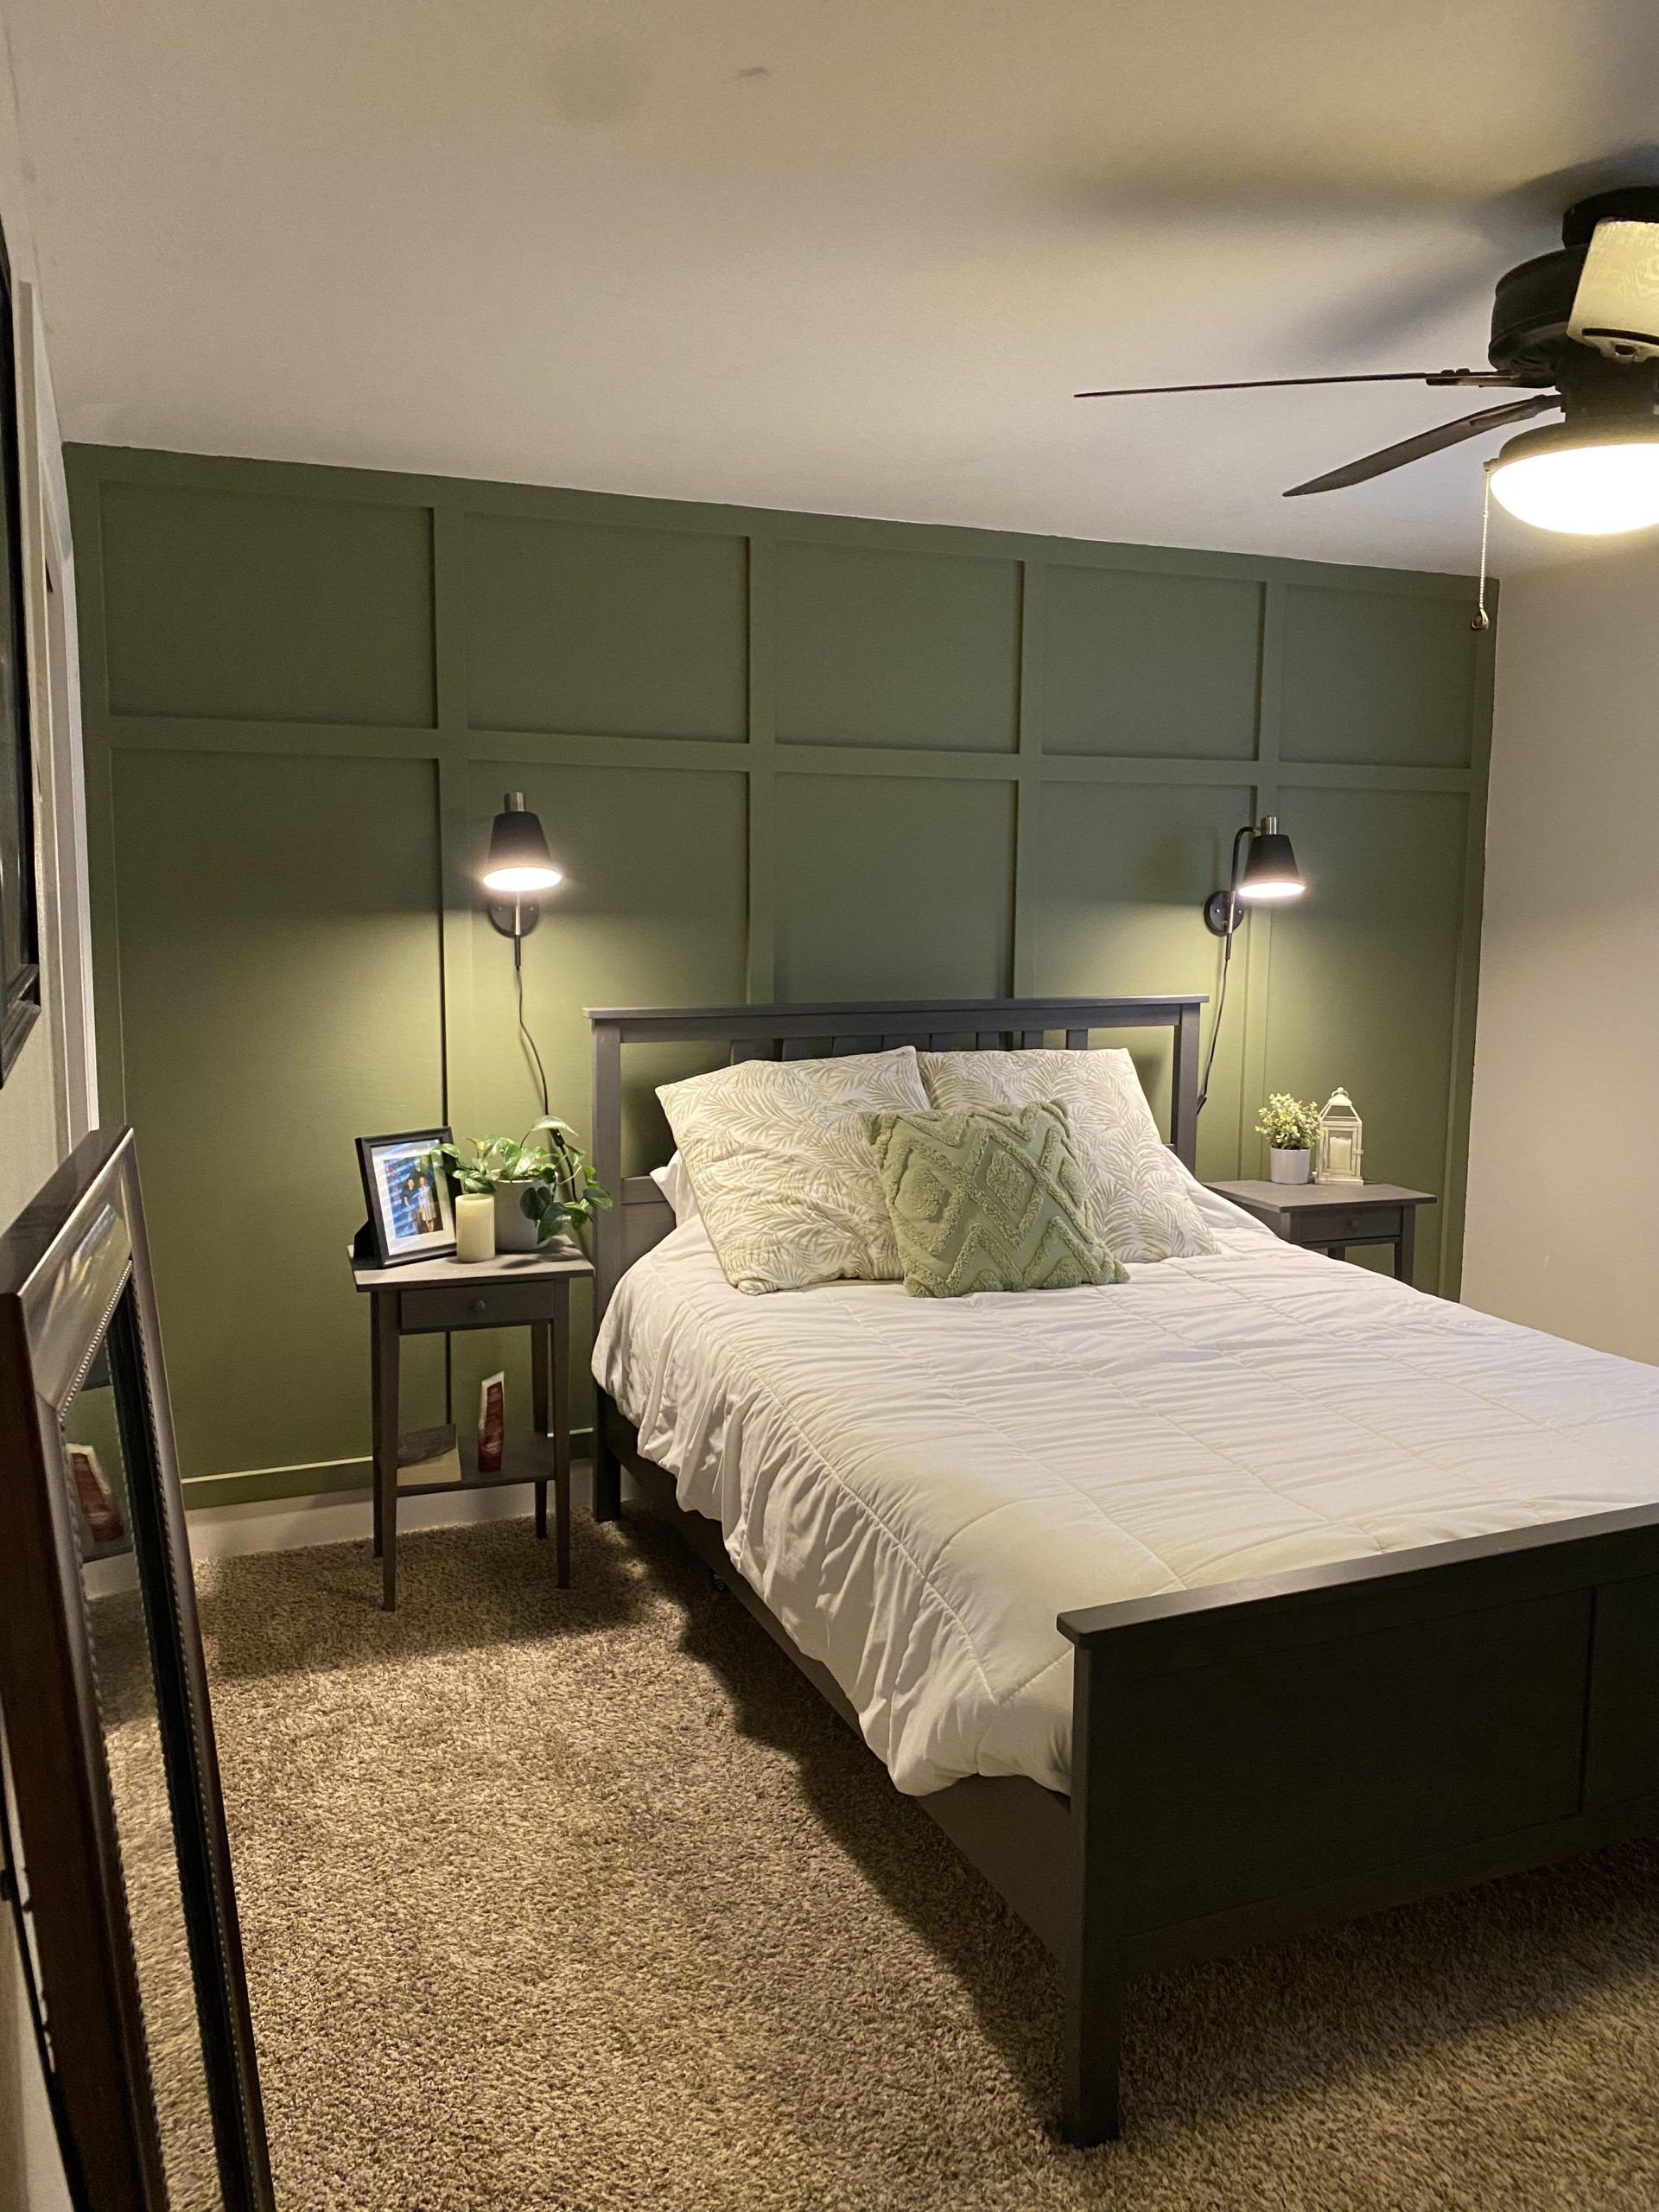
I had a wonderful interview with Daniel and Bri Burt who recently added an accent wall to their master bedroom. This budget-friendly remodel cost them less than $200 and made a huge impact. The Burt’s walked me through their process and shared some unexpected challenges along the way.
Here are 5 tips to adding an accent wall to your master room:
Pick your design – Pinterest is a helpful tool to get inspiration. Here is a board to get the juices flowing: Accent Walls
Remove texture – This important step can be tedious so give yourself time to get that smooth finish.
Measure A LOT – Make sure to triple check your measurements. Use a “spacer board”, or a board cut to the length you want to use as a template, to achieve even spaces.
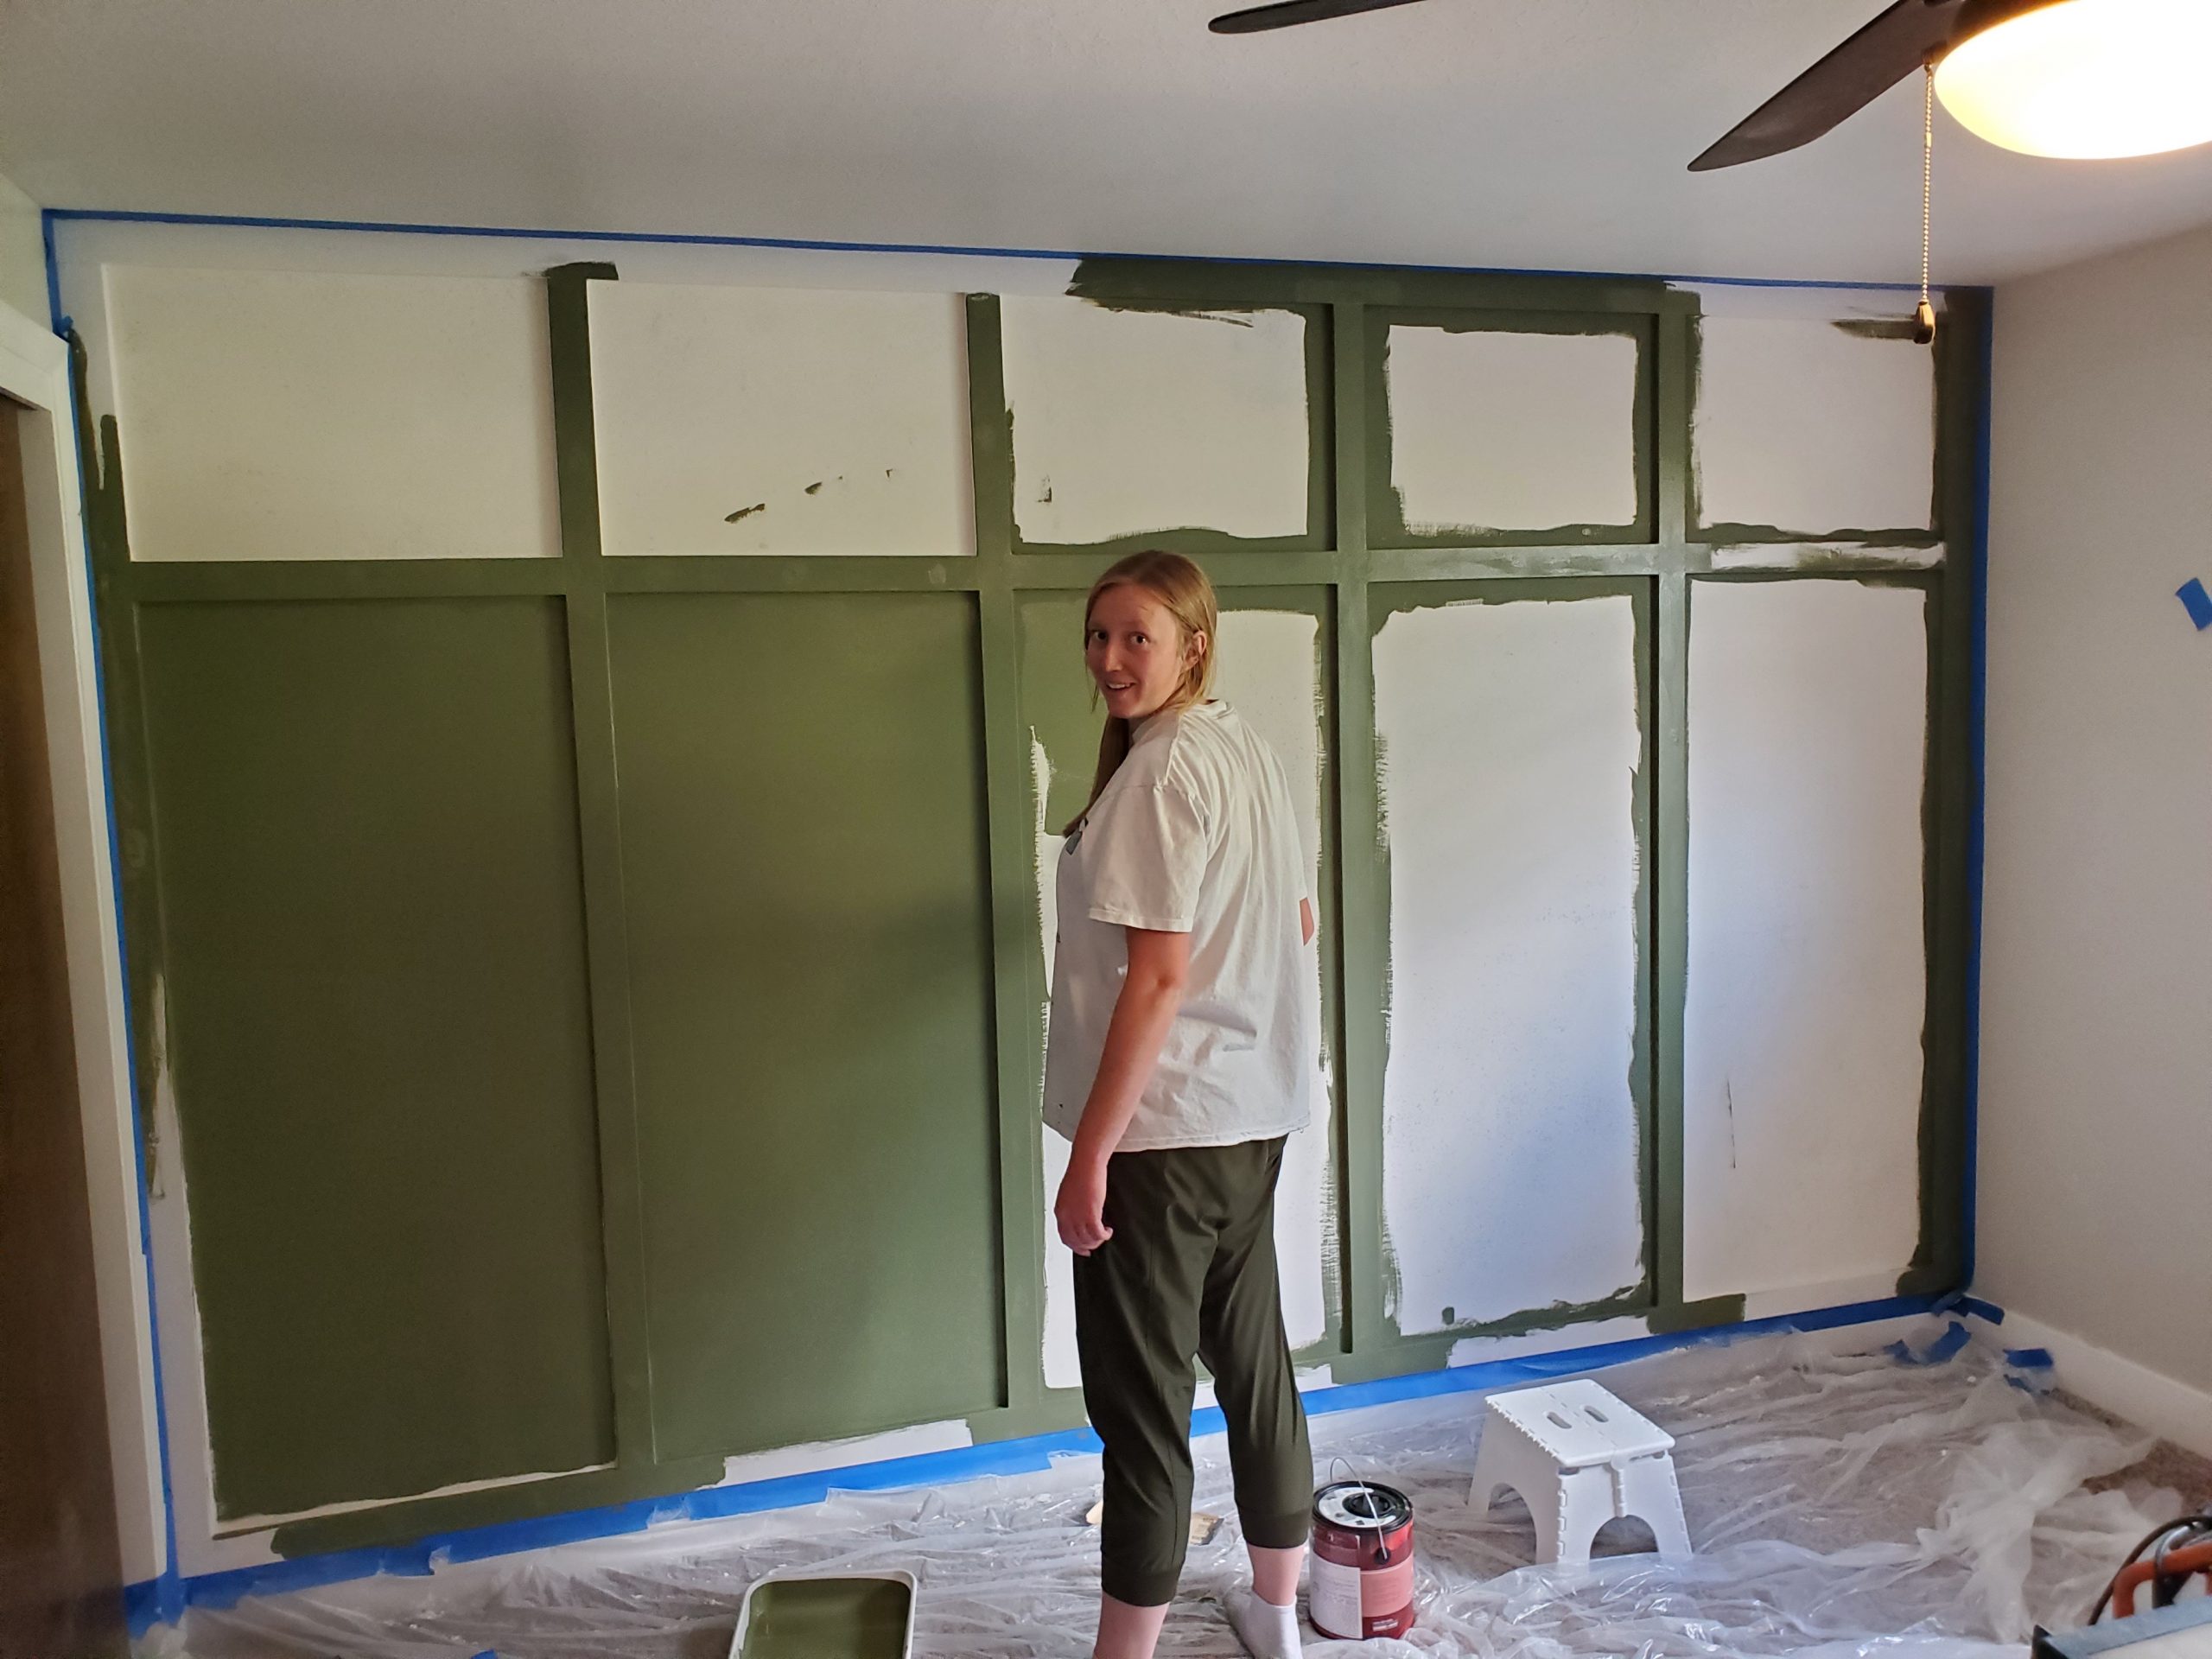
Caulk – Using caulk around the edges gives that crisp, flushed look. You might be tempted to skip this step, but this will give your wall that professional touch.
Pick quality paint – Splurging on quality paint will save time and give you a beautiful finish. The Burt’s used Ecological by Behr in a Matte finish.
This home project is great for intermediate DIY skill levels. If you want to hire a licensed contractor to take over your home project, please send me a message and I’ll be happy to refer one of my contacts.
You can watch my interview with the Burt’s on my Youtube channel by following this link: https://youtu.be/6kAoqLrN1SU
I helped four families downsize last year. They’re now all settled in their smaller homes after selling their overwhelmingly large homes. That being said, downsizing takes a considerable amount of planning and effort.
Dan and Sandy Capell were among the families that downsized last year. They sold their spacious two-story 3,676 sq foot home on a .25-acre lot, and bought a 2,536 sq foot rambler on a .11 acre lot complete with an HOA. With too many stairs and yard work piling up, their house was no longer the oasis they were hoping to grow old in.
I asked the Capells to share their experience, and they gave nine tips for those contemplating downsizing.
🏠 You can’t take everything with you
Moving from a large home to a smaller one means not all your belongings will fit. You have to analyze what is most important to you and say goodbye to the items not-so valued.
🏠 Downsizing is hard emotionally
Getting rid of their treasured items was harder than anticipated. Sandy had furniture items she loved and Dan owned many tools, guns and recreation items.
🏠 Get organized
There are lots of ways to get rid of things: give to family, sell online or at yard sales, throw items away, or donate to thrift stores and local organizations.
🏠 Find ways to give back
One thing that helped Dan be able to part with his tools was donating them to a local trade school. Knowing they will be used to help others made it easier to give them away.
🏠 Sell high priced items
Dan sold guns and other items to a local collector.
🏠 Consider hiring help
The older we get the more difficult it is to physically move. The Capells decided to hire a moving company.
🏠 Be patient
Giving away items, packing and moving is stressful. Be patient with each other and committed to getting along.
🏡 Declutter after the move
After you move, expect another round of parting with things. Dan and Sandy thought they had given away plenty, but once all the items were in their new home, they could see it wouldn’t fit.
🏠 Give yourself time to adjust
It takes time deciding where to put things, and adjusting to new patterns, friends, shopping, etc. After about two months, the Capells were beginning to feel comfortable and glad they made the move.
Dan and Sandy’s final words… “We like it here. We are glad we made the move. It was definitely the thing to do.”
Before buying or selling a home, it’s vital to have an inspection done to know the home’s condition. Most homes have at least a few things come up on their inspection.
After either inspection is completed, you’ll get a report. It is anywhere from a few to 50+ pages, depending on the home and type of inspection. We recommend going through the report in detail to see what needs to be fixed on the house before buying or selling.
Pre-Listing Home Inspection
This type of inspection is for the sellers. Golden Door Utah always pays for this inspection as part of the listing package. This type of inspection is less detailed than the Comprehensive Inspection conducted for the buyer.
The primary purpose is to check out the major systems so the seller knows the condition before listing the home. It puts the seller in the driver’s seat so they know the house’s state and what repairs the buyer may ask for.
A few examples of things found on a recent Pre-Listing Inspection were:
Clean out the window wells
Settled sidewalk – for something like this, you would wait to see if the buyer asks for it to be lifted.
Broken garage door spring (replace the springs)
Downstairs sink drains slow
Change the smoke detector batteries
Change the furnace filter
Change the light bulb in the microwave
Confirm the doorbell works
This particular home was in excellent condition; just a few (mostly) minor things needed to be fixed to make it more appealing to a buyer.
Comprehensive Buyer Inspection
When a buyer is shopping for a home, they only spend a few minutes in each home before deciding whether to put in an offer or not. There is not enough time to thoroughly assess a home’s condition.
I recommend a Comprehensive Buyer Inspection during your due diligence period. This will report the condition of the home. After the inspection, the buyer and seller may negotiate the items to be repaired. If they don’t, it may result in a buyer backing out.
If the seller does agree to fix anything after the inspection, the real estate agent will draft an addendum called Resolution of Due Diligence. Both parties will sign the agreement. Before closing on the home, the buyer will walk through to ensure the repairs have been completed as agreed. It often gives the buyer peace of mind moving into their new home.
The inspection for the buyer is much more detailed than the Pre-Listing Home Inspection. The home inspector will inspect everything from the foundation to the roof. He’ll also note the appliances and the furnace’s condition, confirm the plumbing is working properly, and that the electrical is wired correctly. The serial numbers and model numbers are also documented in the report.
Also included with the report is a sort-of manual to their house that shows things like where the water shut-off valve and electrical boxes are. Andy also provides his clients with a subscription to Homebinder. It’s an online management software that helps take care of your house. It has manuals, reminders, recalls, etc.
A Comprehensive Buyer Inspection gives the homebuyer confidence that they are buying a home in good condition.
Whether you are buying or selling a home, an inspection is a critical step. If you need help navigating the real estate process, I can help!


 Facebook
 X
X
 Pinterest
 Copy Link