

 Facebook
 X
X
 Pinterest
 Copy Link
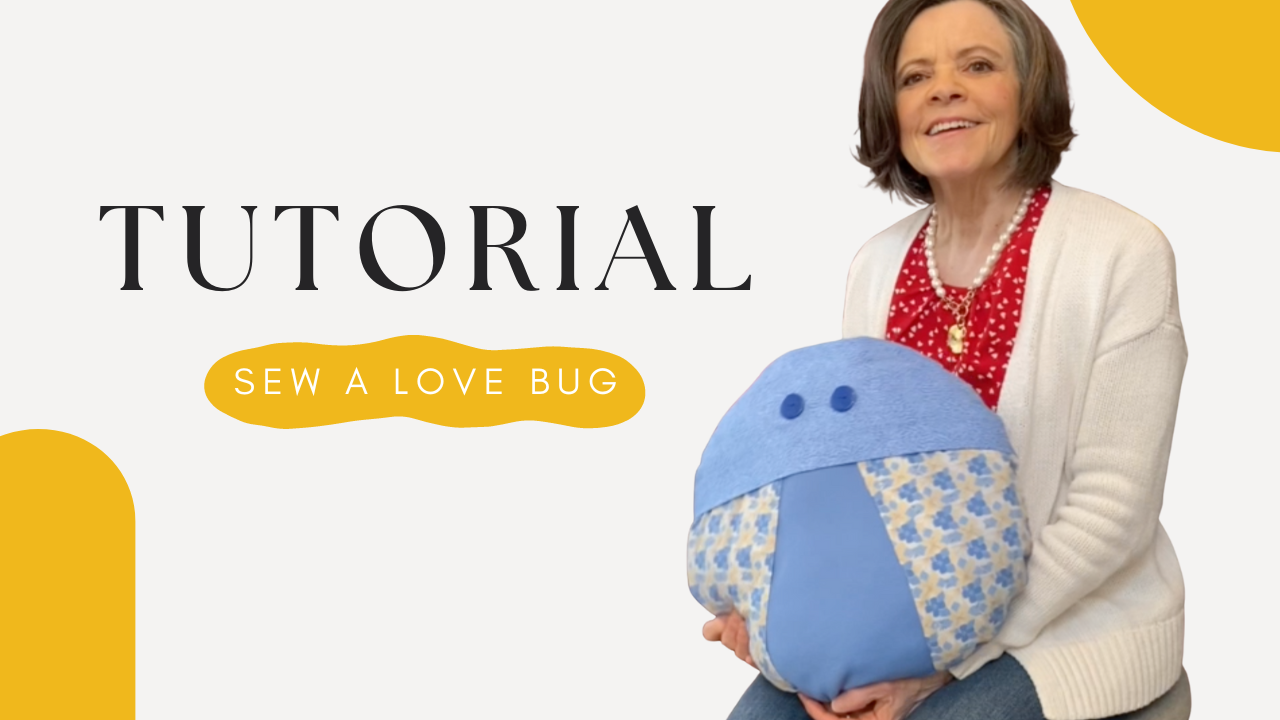
In memory of my mom who passed away a couple of years ago on Valentine’s Day, I made a Love Bug pillow using one of her iconic outfits. This quick and easy sewing project makes for the perfect handmade gift for someone you love or as a way to preserve the memory of someone you love. Learn how to sew your own love bug with the following tutorial:
Supplies:
5 fat quarters (Back, Front, Two Wings, Head)
Sharp scissors
Batting/Polyfil
Sewing Machine
Pins
Ruler
Buttons
Needle and thread
Iron
1 yard Trim (I used rick rack)
Paper and tape
Pen
Fabric glue (optional)
Instructions:
- Iron your fabric to remove the creases.
- Take your paper and assemble a 16” circle. This will be used as a template.
- Take the fabric you want for the body and lay it face up.
- For the wings, take two matching fat quarter pieces and fold them in half. Lay them face up on top of the body piece. Touch the wing corners at the top and fan out the bottom so they’re about 4” apart.
- Take the fabric for the head and fold it in half.
- Lay the head piece ⅓” of the way down over top of the other pieces right side up.
- Take your back piece of fabric and lay it on top of the other pieces with right sides facing.
- Trace a circle using your circle template and make sure to include about ½” for seam allowance.
- Pin layers together and cut out the circle.
- If you want legs, take your rick rack or other trim and cut out 2” strips.
- Place the legs inside of the pillow with the edges lined up with the edge of the fabric. Pin in place.
- Sew around the circle, leaving a 4” opening so you can stuff the bug.
- Carefully clip notches all the way around so it will lay flat.
- Turn the pillow right side out and make sure all the seams are smooth and the legs are poking out. Press seams if needed.
- Sew or glue on the eyes.
- Stuff the pillow with Polyfil or other stuffing until it’s the firmness that you like.
- Use the needle and thread to slip stitch the 4” opening shut.
I hope you enjoyed creating your memory love bug. This is a great project to do with kids or grandkids, or for anyone looking for a quick project.
Here is a video tutorial showing how I made my love bug.
Thank you, Mom, for teaching me to sew!
