Your Fairy Godmother is here to share spooky crafts and tasty treats for the month of October. Follow along for some fall fun!
1. Ghosts in a Jar
Make this super easy Halloween decoration with items you probably have around your house. Here’s how you do it:
Item List:
Large Jar
Small vase/jar
Ghost Peeps
Fairy String Lights
Ribbon (I used orange with white polka dots)
Instructions:
Place the fairy lights into the small vase/jar.
Place the small jar into the larger jar. Make sure you have enough space all the way around to line your peeps.
Line the sides of the jar with the ghost peeps.
Tie your ribbon around the jar in a nice bow.
Viola! You have a magically spooky Halloween decoration that’s looks good enough to eat.
2. Tomato Cage Ghost
Don’t let those tomato cages go to waste this fall. Create a friendly ghost to adorn your porch. 👻
Item List:
Tomato Cage
Twist Tie
White sheet
Styrofoam Ball
Black Paper
Scissors
Tape
Instructions:
Turn the tomato cage upside down so the spikes are facing up.
Tie the spikes together using the twist tie.
Stick the styrofoam ball on the spikes.
Drape the sheet over the top of the cage.
Cut out two ovals from the black paper for the eyes.
Stick the eyes on with tape.
Tip: Fill the cage with lights for extra magic at night!
3. Ghost Family Painting
Have you seen the thrift store ghost painting trend floating around? Here’s our take on ghost painting that the whole family can enjoy — no painting skill required!
Items List:
Black canvases or cardstock (Tara found these square black canvases at All A Dollar)
White paint
Squeegee or old gift card
Black & metallic permanent marker
Paper towels
Instructions:
Lay your canvas on top of a paper towel to avoid messes.
Paint a semi circle directly from the paint tube onto the canvas. This will be the top of your ghost.
Take the squeegee or gift card and firmly glide the paint down to the bottom of the canvas.
Wipe off the excess paint on the squeegee onto a paper towel.
Repeat steps 2, 3, & 4 until you have completed your ghost family.
After your paint is dry, draw on eyes and accessories with your permanent markers.
I added my two dogs, a spider web, and a Happy Halloween message to finish my painting off. Be creative and have fun with it!
4. Peeking Plants
Add some personality to your house plants for Halloween with these adorable “floating” eyes.
Items List:
Ping pong balls
Black marker
Hot glue gun
Metal stake
Instructions:
Glue two ping pong balls together with the hot glue.
Draw a circle on both ping pong balls with the black marker for the pupils.
Glue the metal stake to the middle of the two ping pong balls.
Stick as many “eyes” in your plants as you’d like!
This craft takes less than 20 minutes, and it just tickles me to walk by my peeking plants. 👀
5. Glass Fall Leaf Candle Holders
These clever leaf candle holders are perfect all season long. 🍂🍁🍃
Items List:
Mason jars
Dried leaves
Mod Podge
Paint brush
Paper towels
Instructions:
Apply Mod Podge to the back of the dried leaves.
Stick the leaves to the jar in any pattern you wish.
Brush more Mod Podge to the leaves once on the jar.
Wait for the Mod Podge to dry completely before adding candles.
6. Black Cat Toilet Paper Roll
Oh, the things you can do with an empty TP and paper towel rolls! The possibilities are endless, but here are two easy favorites for Halloween. Use an empty toilet paper roll or cut an empty paper towel roll in thirds.
Items List
Paper towel roll (cut in thirds), or toilet paper roll
Black paint
Paint brush
Black pipe cleaner
Toothpick
Hot glue
Metallic permanent markers
Googly eyes
Instructions:
Paint the roll completely black.
Once dry, fold the top of the roll on both sides so they meet in the middle to make the ears.
Poke a hole in the back for the tail.
Place the pipe cleaner in the hole and hot glue to secure.
Draw the nose and whiskers with the metallic markers.
Use the hot glue to stick on the googly eyes.
7. Candy Corn Candy Holder
Paper towel roll (cut in thirds), or toilet paper roll
Orange, yellow, & white paint
Paint brush
Stapler
Permanent marker
Favorite candy
Little bow (or anything else to decorate)
Hot glue
Instructions:
Paint the roll in three sections using yellow, white, & orange paint.
Staple one end closed.
Fill with candy.
Staple the top closed (the opposite direction as the bottom staples).
Decorate any way you’d like! I drew a cute face and added a bow with hot glue.
8. Apple Nachos
If you love caramel apples you have to try these Caramel Apple Nachos. Add this tasty treat to your Halloween traditions, or bring to your next fall party. It’s sure to be a favorite!
Items list:
Green or red apples, thinly sliced
Caramel sauce
Chocolate sauce or hot fudge
Toppings: M&Ms, chocolate chips, chopped nuts, pretzels, mini marshmallows, etc.
Instructions:
Lay your apples on a plate.
Drizzle caramel and chocolate sauce on the apples.
Sprinkle as many toppings as you want.
Enjoy!
Special thanks to Tara for filming and producing these demos!
9. Witch’s Brew
One of my family’s favorite Halloween traditions is making a batch of Witch’s Brew, also known as homemade root beer. I have included three different recipes of Witch’s Brew for you, but they all have the magic ingredient: DRY ICE!
Brew #1:
3 gal Water
1 bottle Root beer Extract
10 cups Sugar (follow instructions on extract bottle)
4-5 lbs of dry Ice
Instructions:
Pour the water, root beer extract, and sugar into a large cauldron (or large punch bowl).
Stir.
Add dry ice (DO NOT touch with your bare hands)
Brew #2:
1 container Grape Juice
2 liter lemonade (sub limeade)
2 liter Squirt (sub 7up or club soda)
1 container sherbet ice cream
1-2 limes
Dry ice is optional on this one because the soda is carbonated. But I like to add it for an eerie effect.
Instructions:
Pour all liquid into the cauldron.
Add spoonfuls of sherbet.
Add slices of lime
(Optional) Add the dry ice.
Brew #3:
1 container grape juice
1 container orange juice
dry ice
Instructions:
Pour liquid into the cauldron.
Add dry ice and let the magic begin!
Thank you for following the Fairy Godmother this month! Wishing you all a fun and safe Halloween!
As of October 2023, student loan payments have resumed and could affect your ability to buy a house.
I talk with loan officer, Miles Pitcher, owner of Superior Lending, about your options now that student loans can affect your credit score as well as potential dangers to avoid.
What is the student loan payment pause?
For the last three and half years, student loan repayments were paused due to the COVID-19 pandemic. This means your credit wasn’t affected from missed payments and interest no longer accrued.
How does student debt affect buying a home?
Now that student loan payments are due, missing a payment will put your account into delinquency. After 90 days of delinquency, your student loan account will go into default and put on a “black list” called CAIVRS (CREDIT ALERT INTERACTIVE VOICE RESPONSE SYSTEM).
Loan officers use CAIVRS to determine if you’re eligible for a mortgage loan.
Student Loan Stats
There is $1.7 trillion in student debt nationally.
Student loan debt is the 2nd largest debt in the USA (mortgage is 1st).
Utah has the lowest average student debt at $18,000.
Since 2020, the student loan debt balance has increased by $165 billion.
The national average student debt is $39,000.
Attorneys and lawyers are most likely to default on their student loans.
What if I can’t pay my student loan?
If you’re having trouble paying your student loan you may qualify for an income based repayment program. This program is issued through your federal student loan servicer, and it could help by lowering the amount you pay per month or maybe pause payments. It’s a year to year program so you will need to apply every year.
Be aware of private student loan companies pushing you to consolidate your student loan debt. Once you do this you no longer qualify for the income driven repayment plan.
Most IDR plans have a debt forgiveness period after 20 0r 25 years.
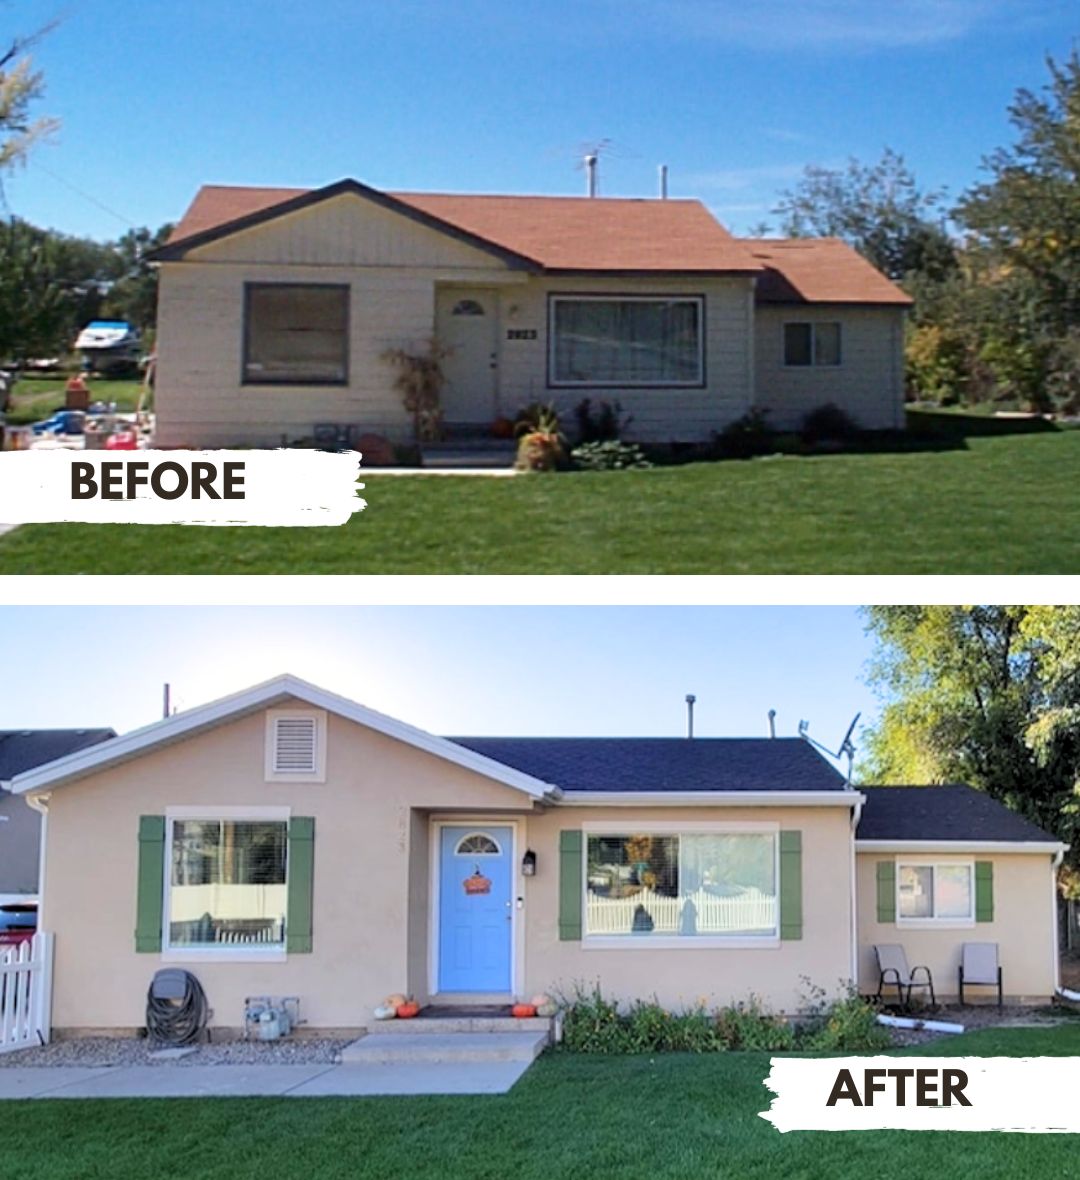
It’s amazing how my clients, Lauren and Mikel Cressman, made a huge impact on the curb appeal of their home by adding colorful accents and a fence.
First, Lauren painted the dark front door a beautiful, chalk blue. Then, they built three sets of shutters and painted them a dark green. Lastly, they added a white WamBam fence to enclose their side yard.
Cost for all came to about $850.
These great updates give the Cressman’s home so much charm and personality, which matches Lauren’s personality perfectly.
Their next projects will be to spruce up the yard by adding low maintenance xeriscaping, and installing an exterior back door and doggie door for Booker.
Gary and Laura Carmack have the ultimate off-grid energy system.
Their three-part system includes solar panels (including the PV panel and Smart Switch); a battery reserve, and a natural gas generator. This system allows the Carmack’s 5,000 sq ft home to stay up and running in the case of a blackout.
They also save hundreds of dollars a month on their electric bill. Gary says they were paying $380/month to run the A/C in the summer. Now they pay $30-$70/month.
Gary explained that the power generated by the solar panels is shared with their local energy company, and if the solar panels aren’t generating enough, the power company gives them the power back at half cost.
He even has an app that tracks the energy and lets him control the systems.
The whole system cost about $80K, and with all the energy savings it will pay off in about 20-30 years.
The Carmack’s say that the peace of mind of having power independent of the energy company is worth every penny.
Thank you Laura and Gary Carmack for sharing your solar knowledge!
How do you make a house a home? It’s not just the bricks and mortar, but the warmth, love, and personal touches that we add to our living spaces. Recently, I had the pleasure of visiting Lisa Schuring’s home, and I was inspired by the way she’s turned her house into a place of joy and comfort. Lisa shared with me her secrets to making a house truly feel like home, and it all comes down to creativity, meaningful decor, and finding joy in what you have.
The Art of Personal Touches
When you walk into Lisa’s home, you’re immediately struck by the unique and personal decor choices that fill every room. It’s not about buying the trendiest furniture or the most expensive artwork; it’s about infusing your home with pieces that resonate with you.
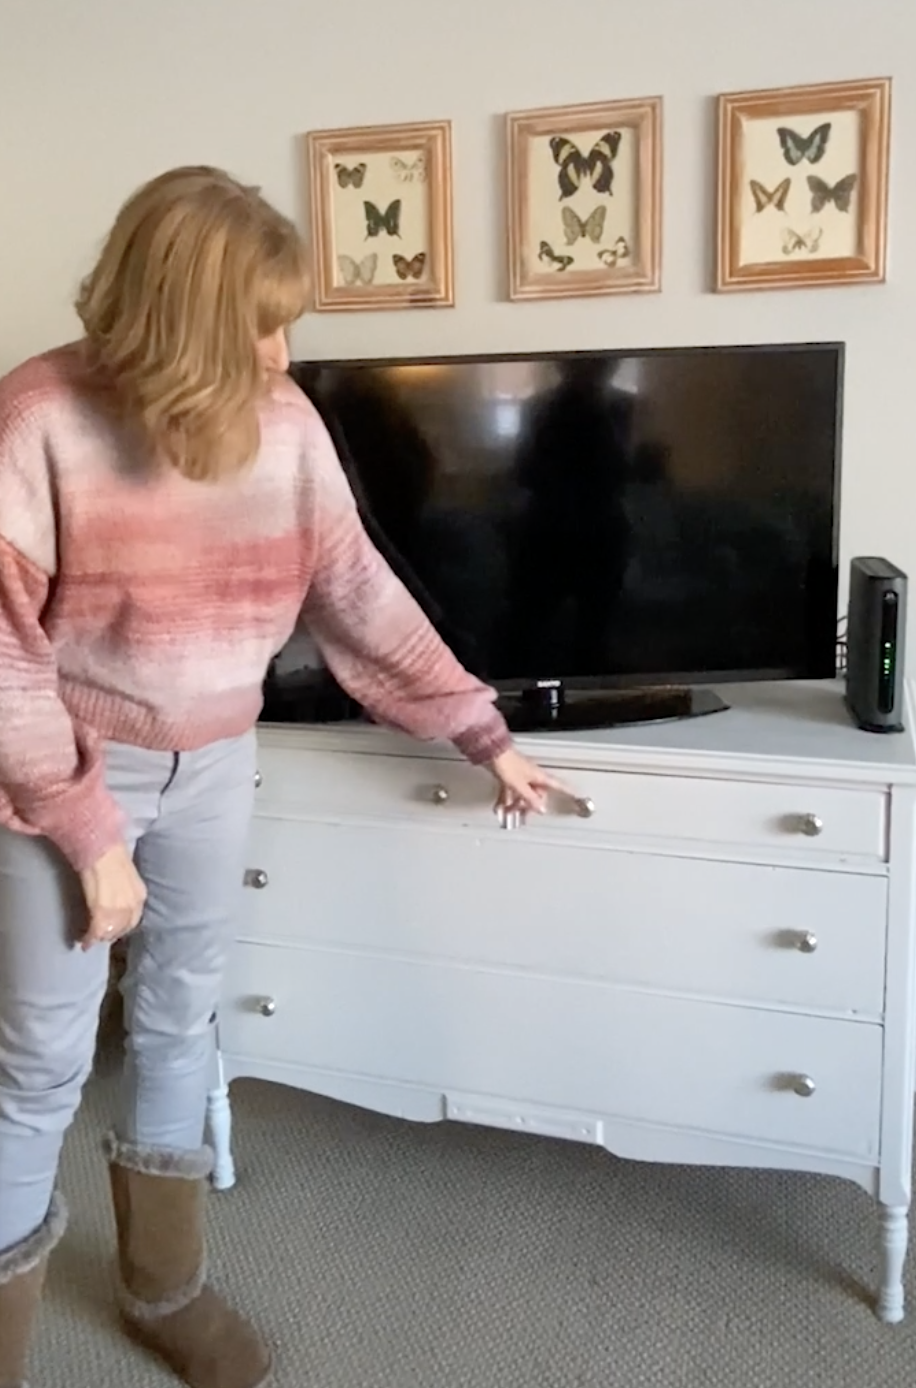
She used her creativity to take an unwanted dresser from her husband’s great aunt and turned it into a beautiful, useful tv stand. Lisa painted this dresser a soft gray and lined the drawers with a vintage newspaper print.
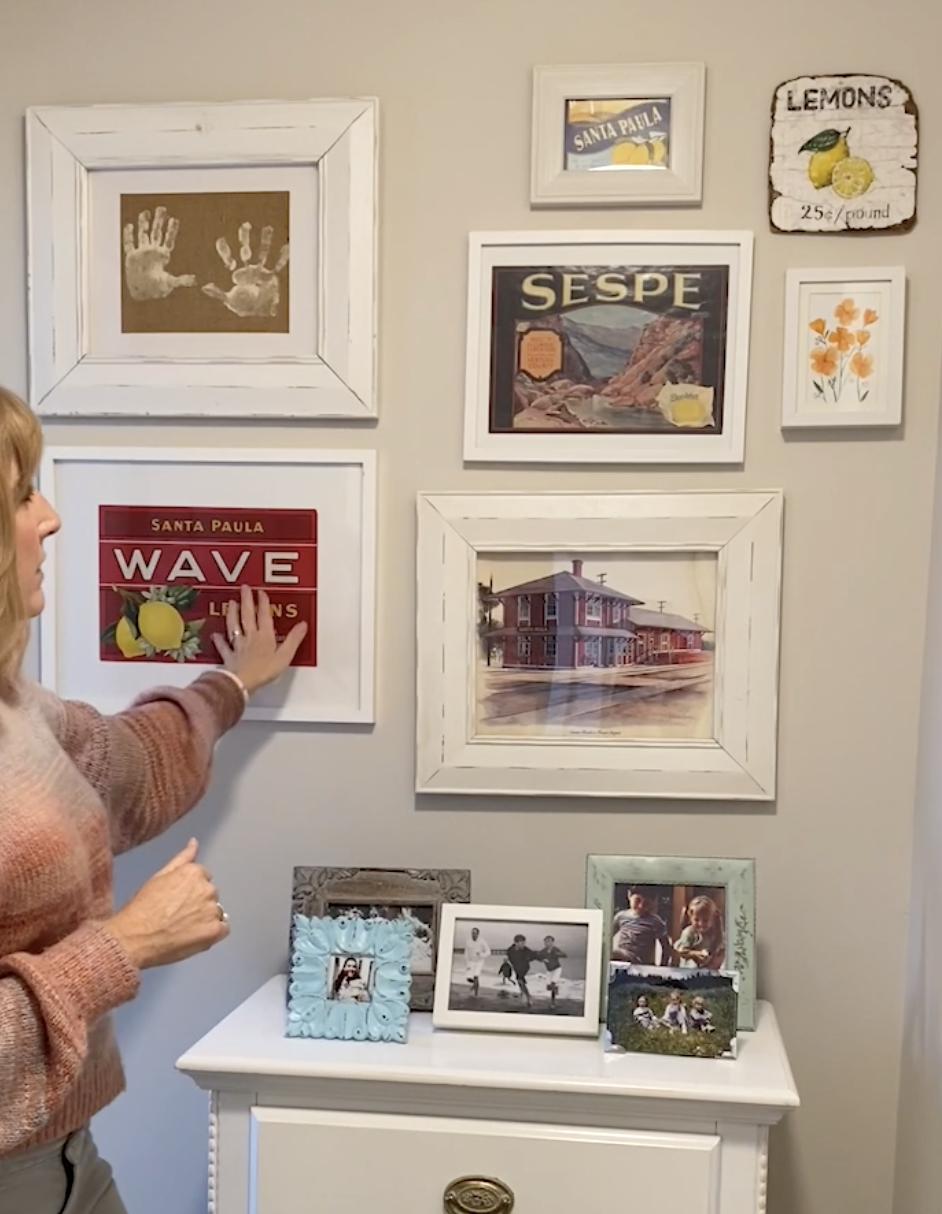
The gallery wall at the end of her hallway displays artwork of her home town, paintings from her daughter, and a tender mothers day card she gave her mom when she was little. This wall not only looks beautiful, but holds meaning and joy for Lisa and her family.
Discovering Treasures in Thrifted Finds
One of the most charming aspects of Lisa’s home is her love for thrifted finds. Vintage bedding, cottage-style furniture, and rustic accessories all add a unique character to her space. Lisa has an eye for finding hidden treasures in thrift stores and garage sales, and she’s transformed these second-hand items into the very heart of her decor.
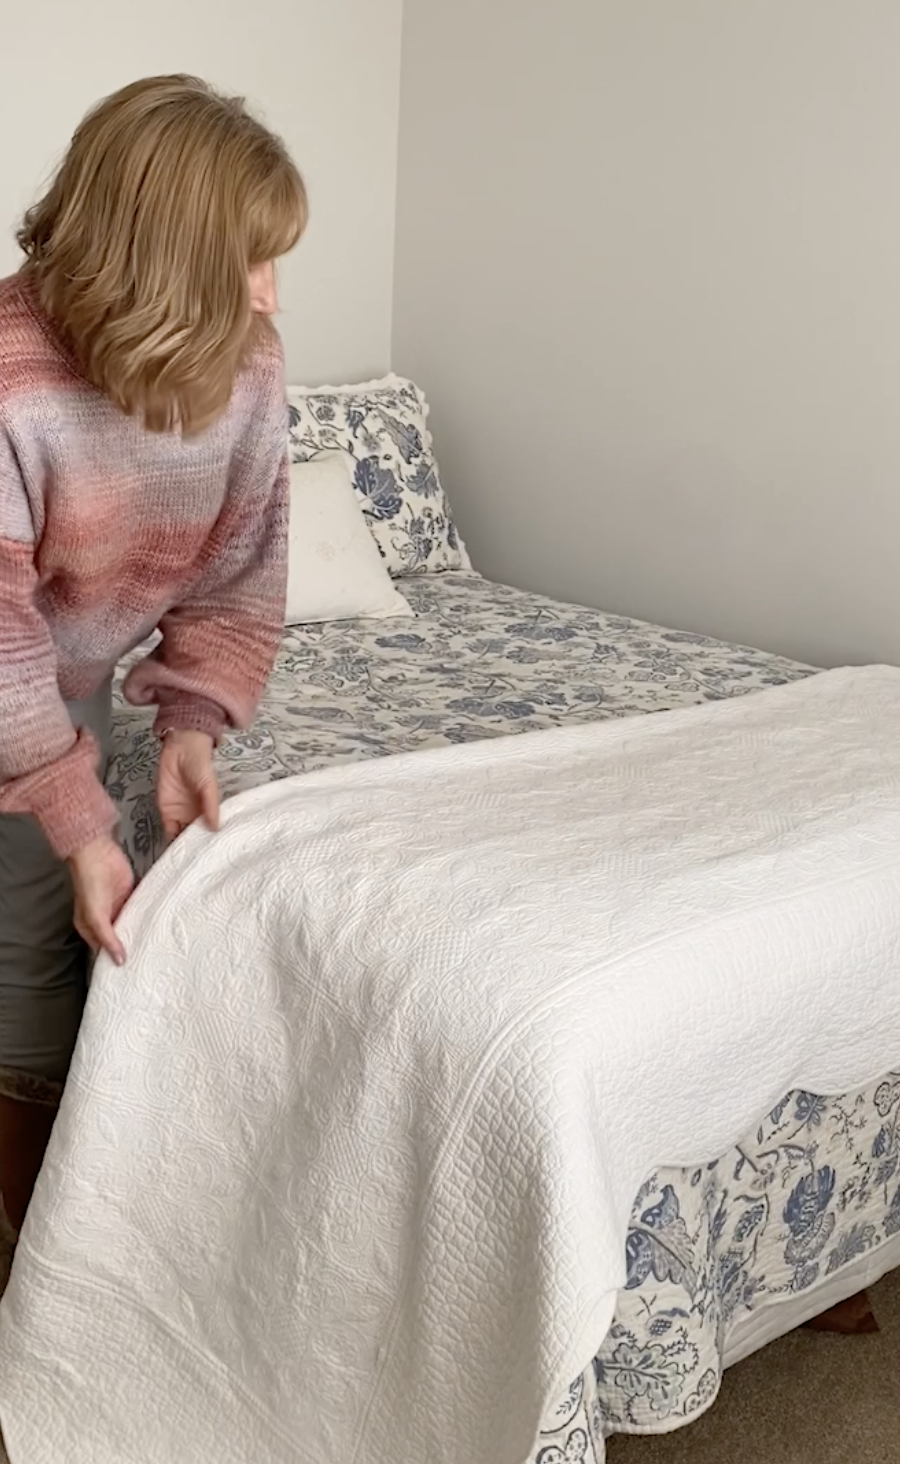
Her guest bedroom has been decorated completely with thrifted items. Lisa says she loves to fill her spaces with things that feel found and collected.
A Quote that Says it All
On Lisa’s wall, there’s a quote that perfectly encapsulates her home’s aesthetic: “When you love what you have, you have everything you need.” It’s a reminder that joy doesn’t come from having the fanciest things but from cherishing what you have and the love that fills your home.
What Makes Your House a Home?
Now, I’d love to hear from you. How do you make your house a home? Is it through personal touches, meaningful decor, or something else entirely? Share your tips and stories in the comments below, and let’s inspire each other to turn our houses into warm and welcoming homes.
Remember, it’s not about having everything; it’s about cherishing what you have and making it truly yours. After all, when you love what you have, you indeed have everything you need.
My clients are about to close on a new construction home, and as always, the opportunity came up to have a home inspection done. This raised the question: “Is a home inspection really necessary if you’re buying a new construction home? It’s a common question among homebuyers, and the answer might surprise you: Yes, even on new construction houses, home inspections are incredibly valuable!
In my experience, an inspector has caught issues that would have been costly if not caught in a timely manner.
On my client’s home, our inspector Andy Torgerson of 360 Home Check found two items that the builder should address. The first was a small gap in the front door that should be a quick fix. The second issue he found was on the A/C unit which had been running nonstop leading to ice buildup on the line and in the unit. This issue would have eventually been caught by the builder, but by catching this early the life of the unit may be extended.
What questions do you have about home inspections?
This is NOT your grandma’s method for folding a fitted sheet. 👵🏼
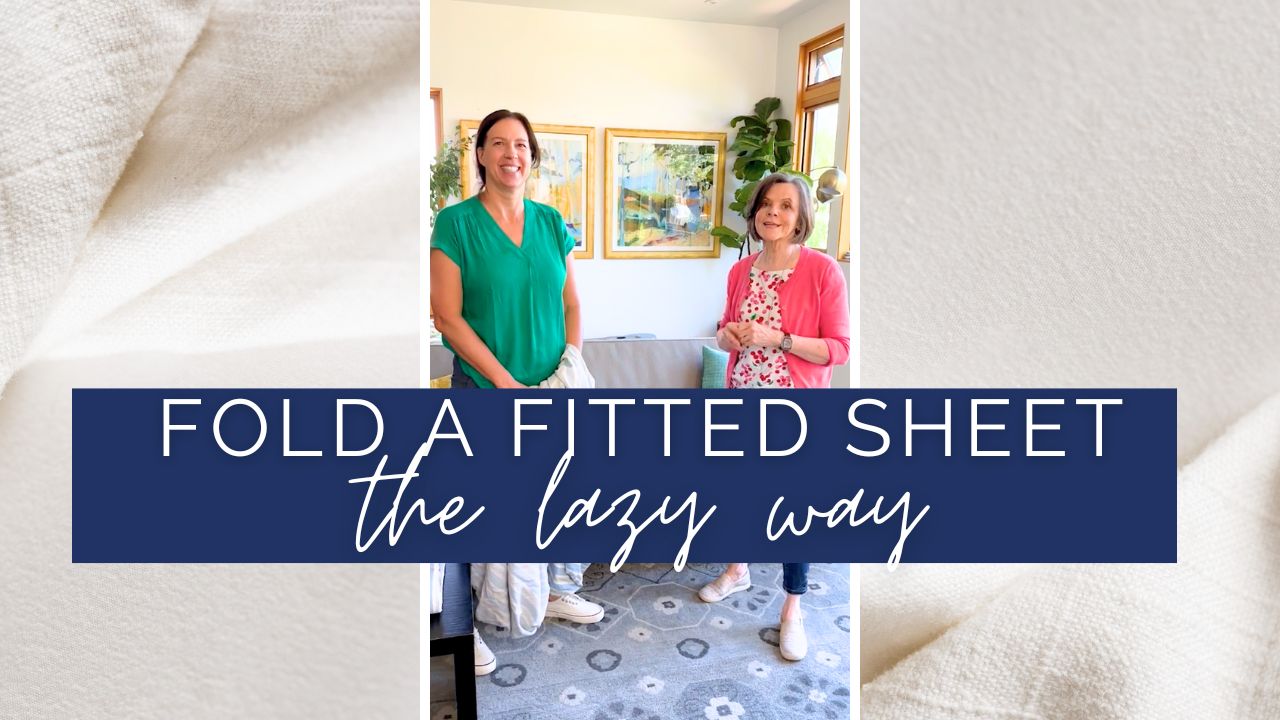
If folding fitted sheets drives you crazy, Kelly Miller’s lazy method is for you. Kelly Miller, HomeFree Organizing, shows us the lazy organizer method for folding a fitted sheet.
First, she folds the sheet in half twice, and then, folds it down to make a square. It doesn’t need to be perfect and you don’t need to tuck the elastic.
Once you have your square, you will tuck the fitted sheet inside the fold of the matching flat sheet (which is already folded into a square as well).
You can take your matching pillowcases and lay them on top of the fitted sheet, and then, fold over the flat sheet so the set is nicely contained and easy to take out of the linen closet.
This method takes less than a minute and you still have a well organized system for your bed linens. Thanks for the great tip, Kelly!
What other organizing hacks would you like to see?


 Facebook
 X
X
 Pinterest
 Copy Link